Editing Tutorials
What Does Photo Upscaling Actually Do? (And When It Can't Help)4 min read
Editing Tutorials
Quick answer: Use Auto for balanced technical correction, Vivid for a stronger color grade, Twilight for a fixed dusk-style treatment, and AI sky replacement only when an exterior photo has an overcast sky you want to replace.
The modes make different kinds of changes. Auto, Vivid, and Twilight use a fixed image processing pipeline. AI sky replacement is generative and can change details beyond the target area. Choosing by the actual photo problem helps you avoid applying a dramatic treatment when a small correction would do.
Written and maintained by the voxelyo team · Published · Updated · 4 min read
Start with Auto for adaptive shadow lift and mild sharpening. It uses the photo's brightness distribution to decide whether to lift shadows, exports up to 10 megapixels, and may conventionally resize a small image. It does not automatically neutralize mixed light or reconstruct missing detail. It is a fixed transformation, so it does not invent furniture, lighting, or other scene content. Severe blur and missing detail still need a better source photo.
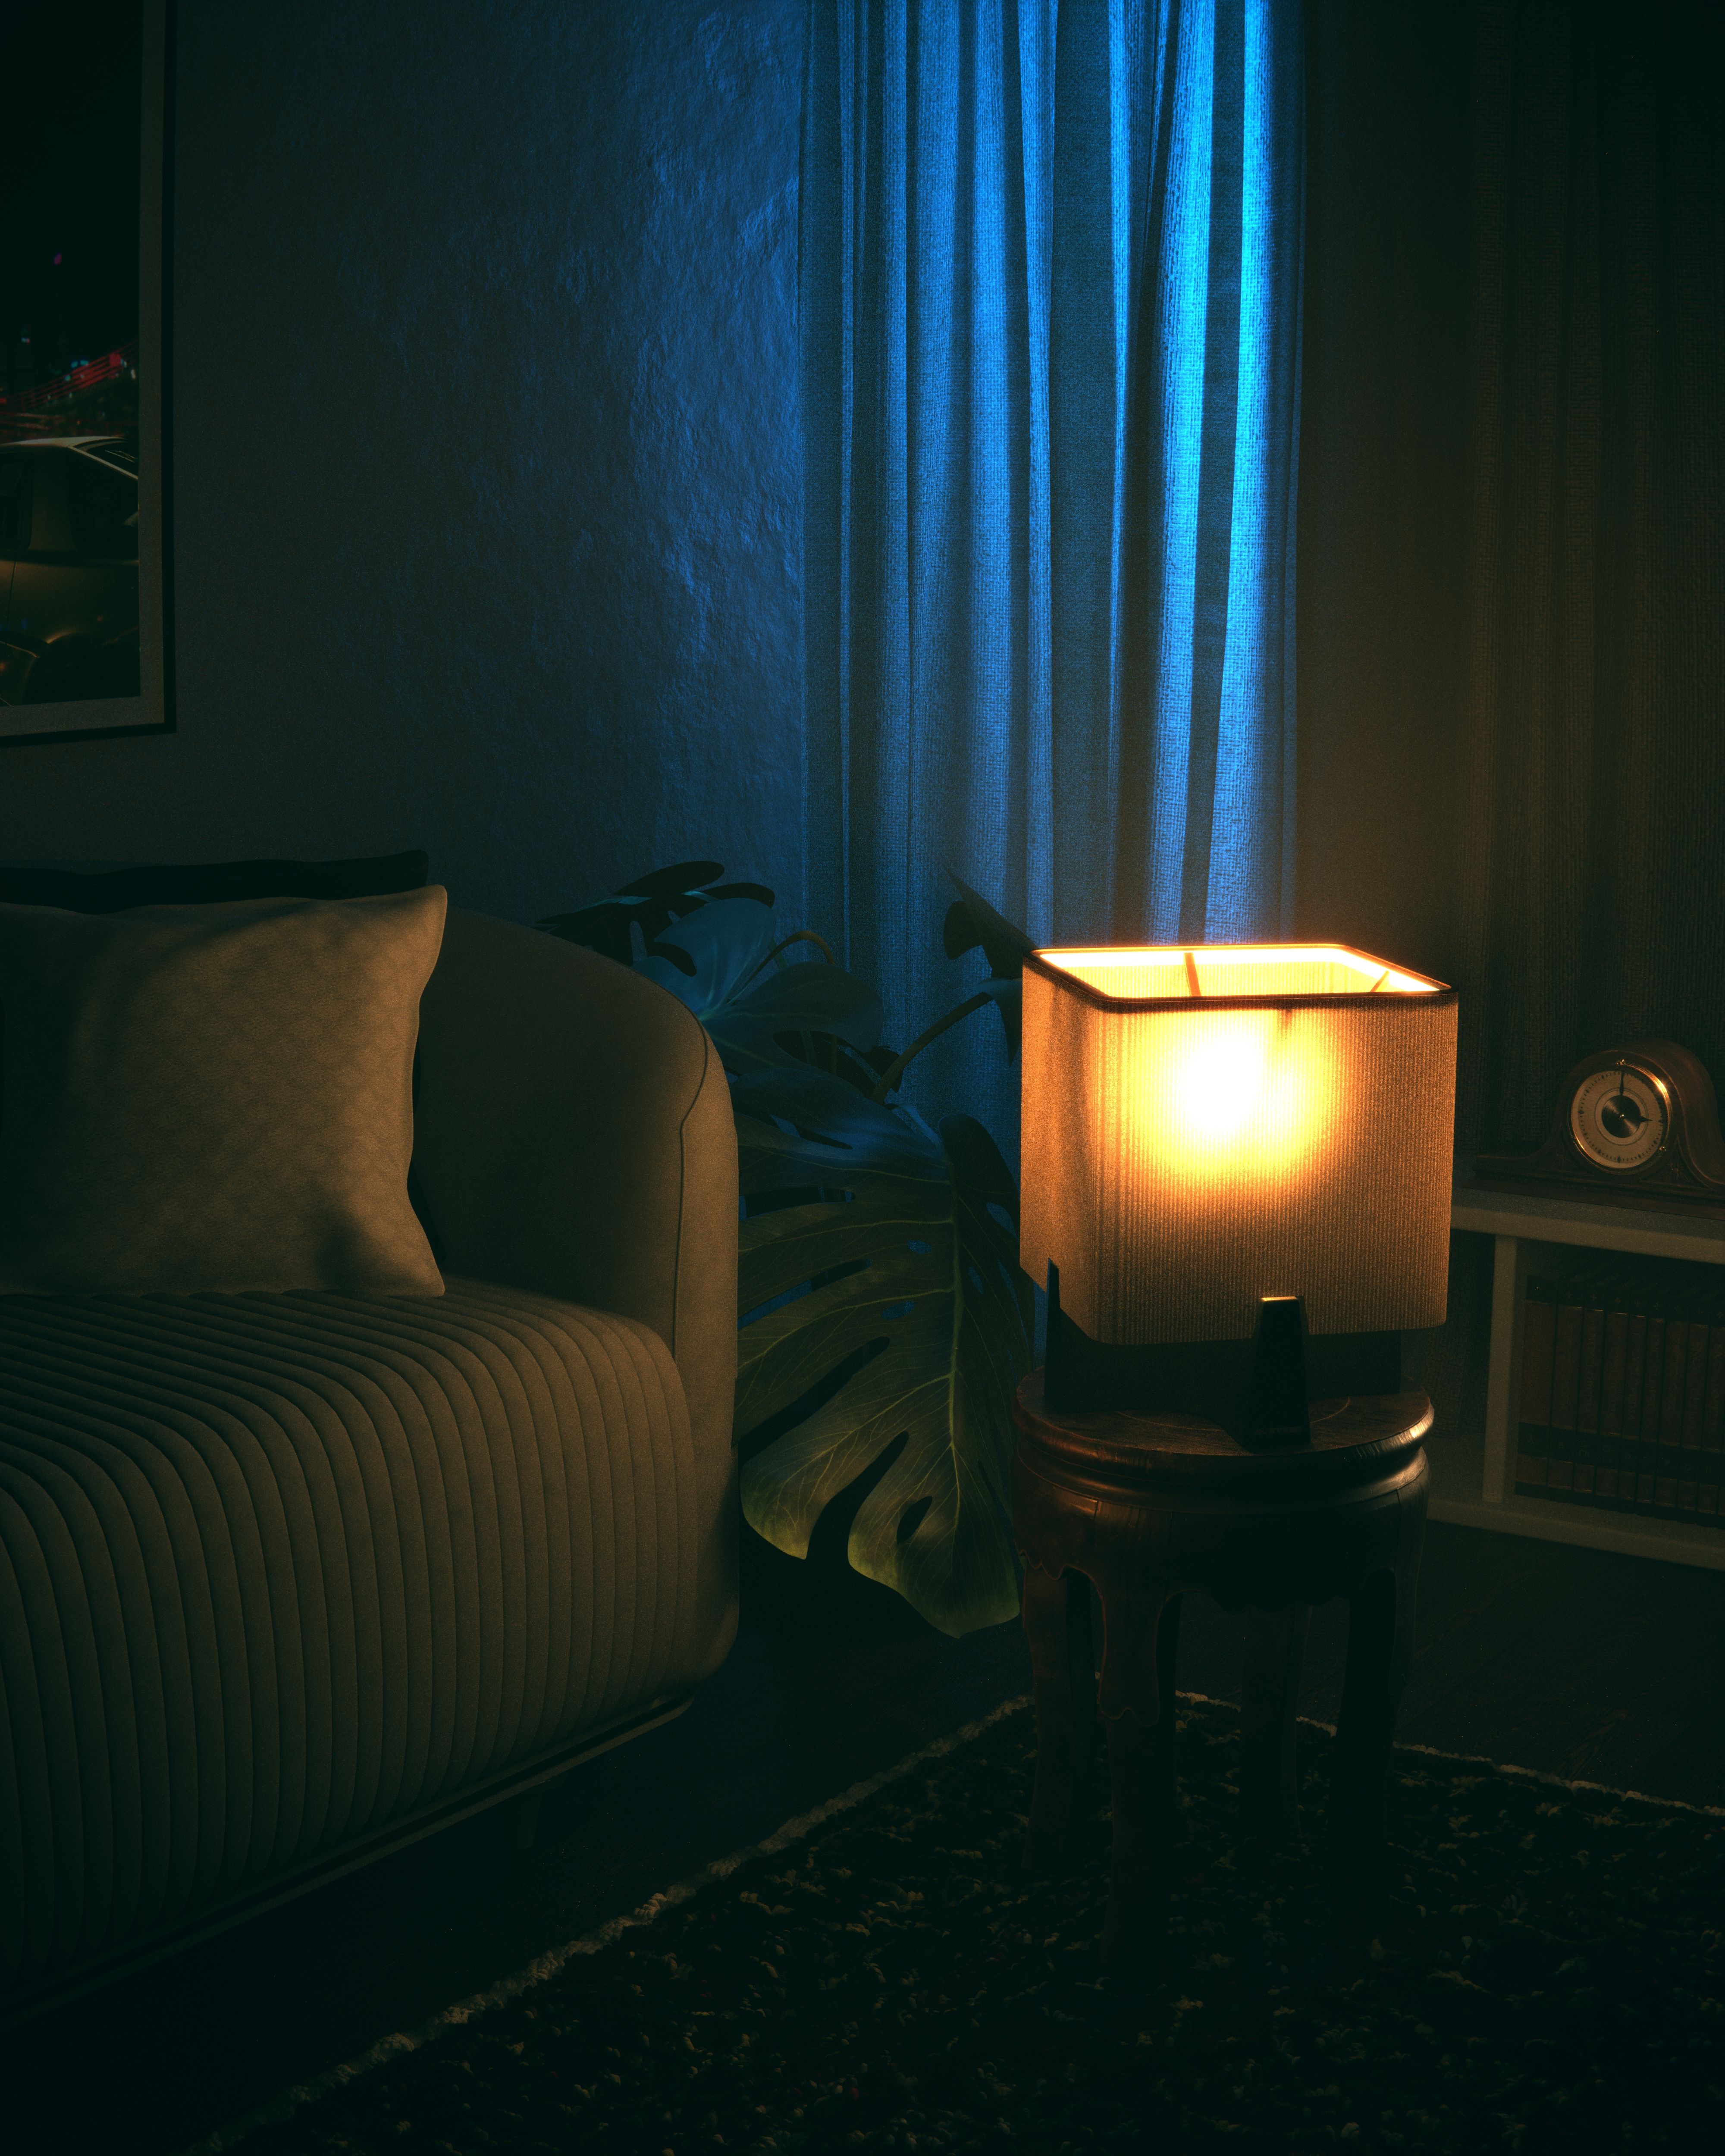
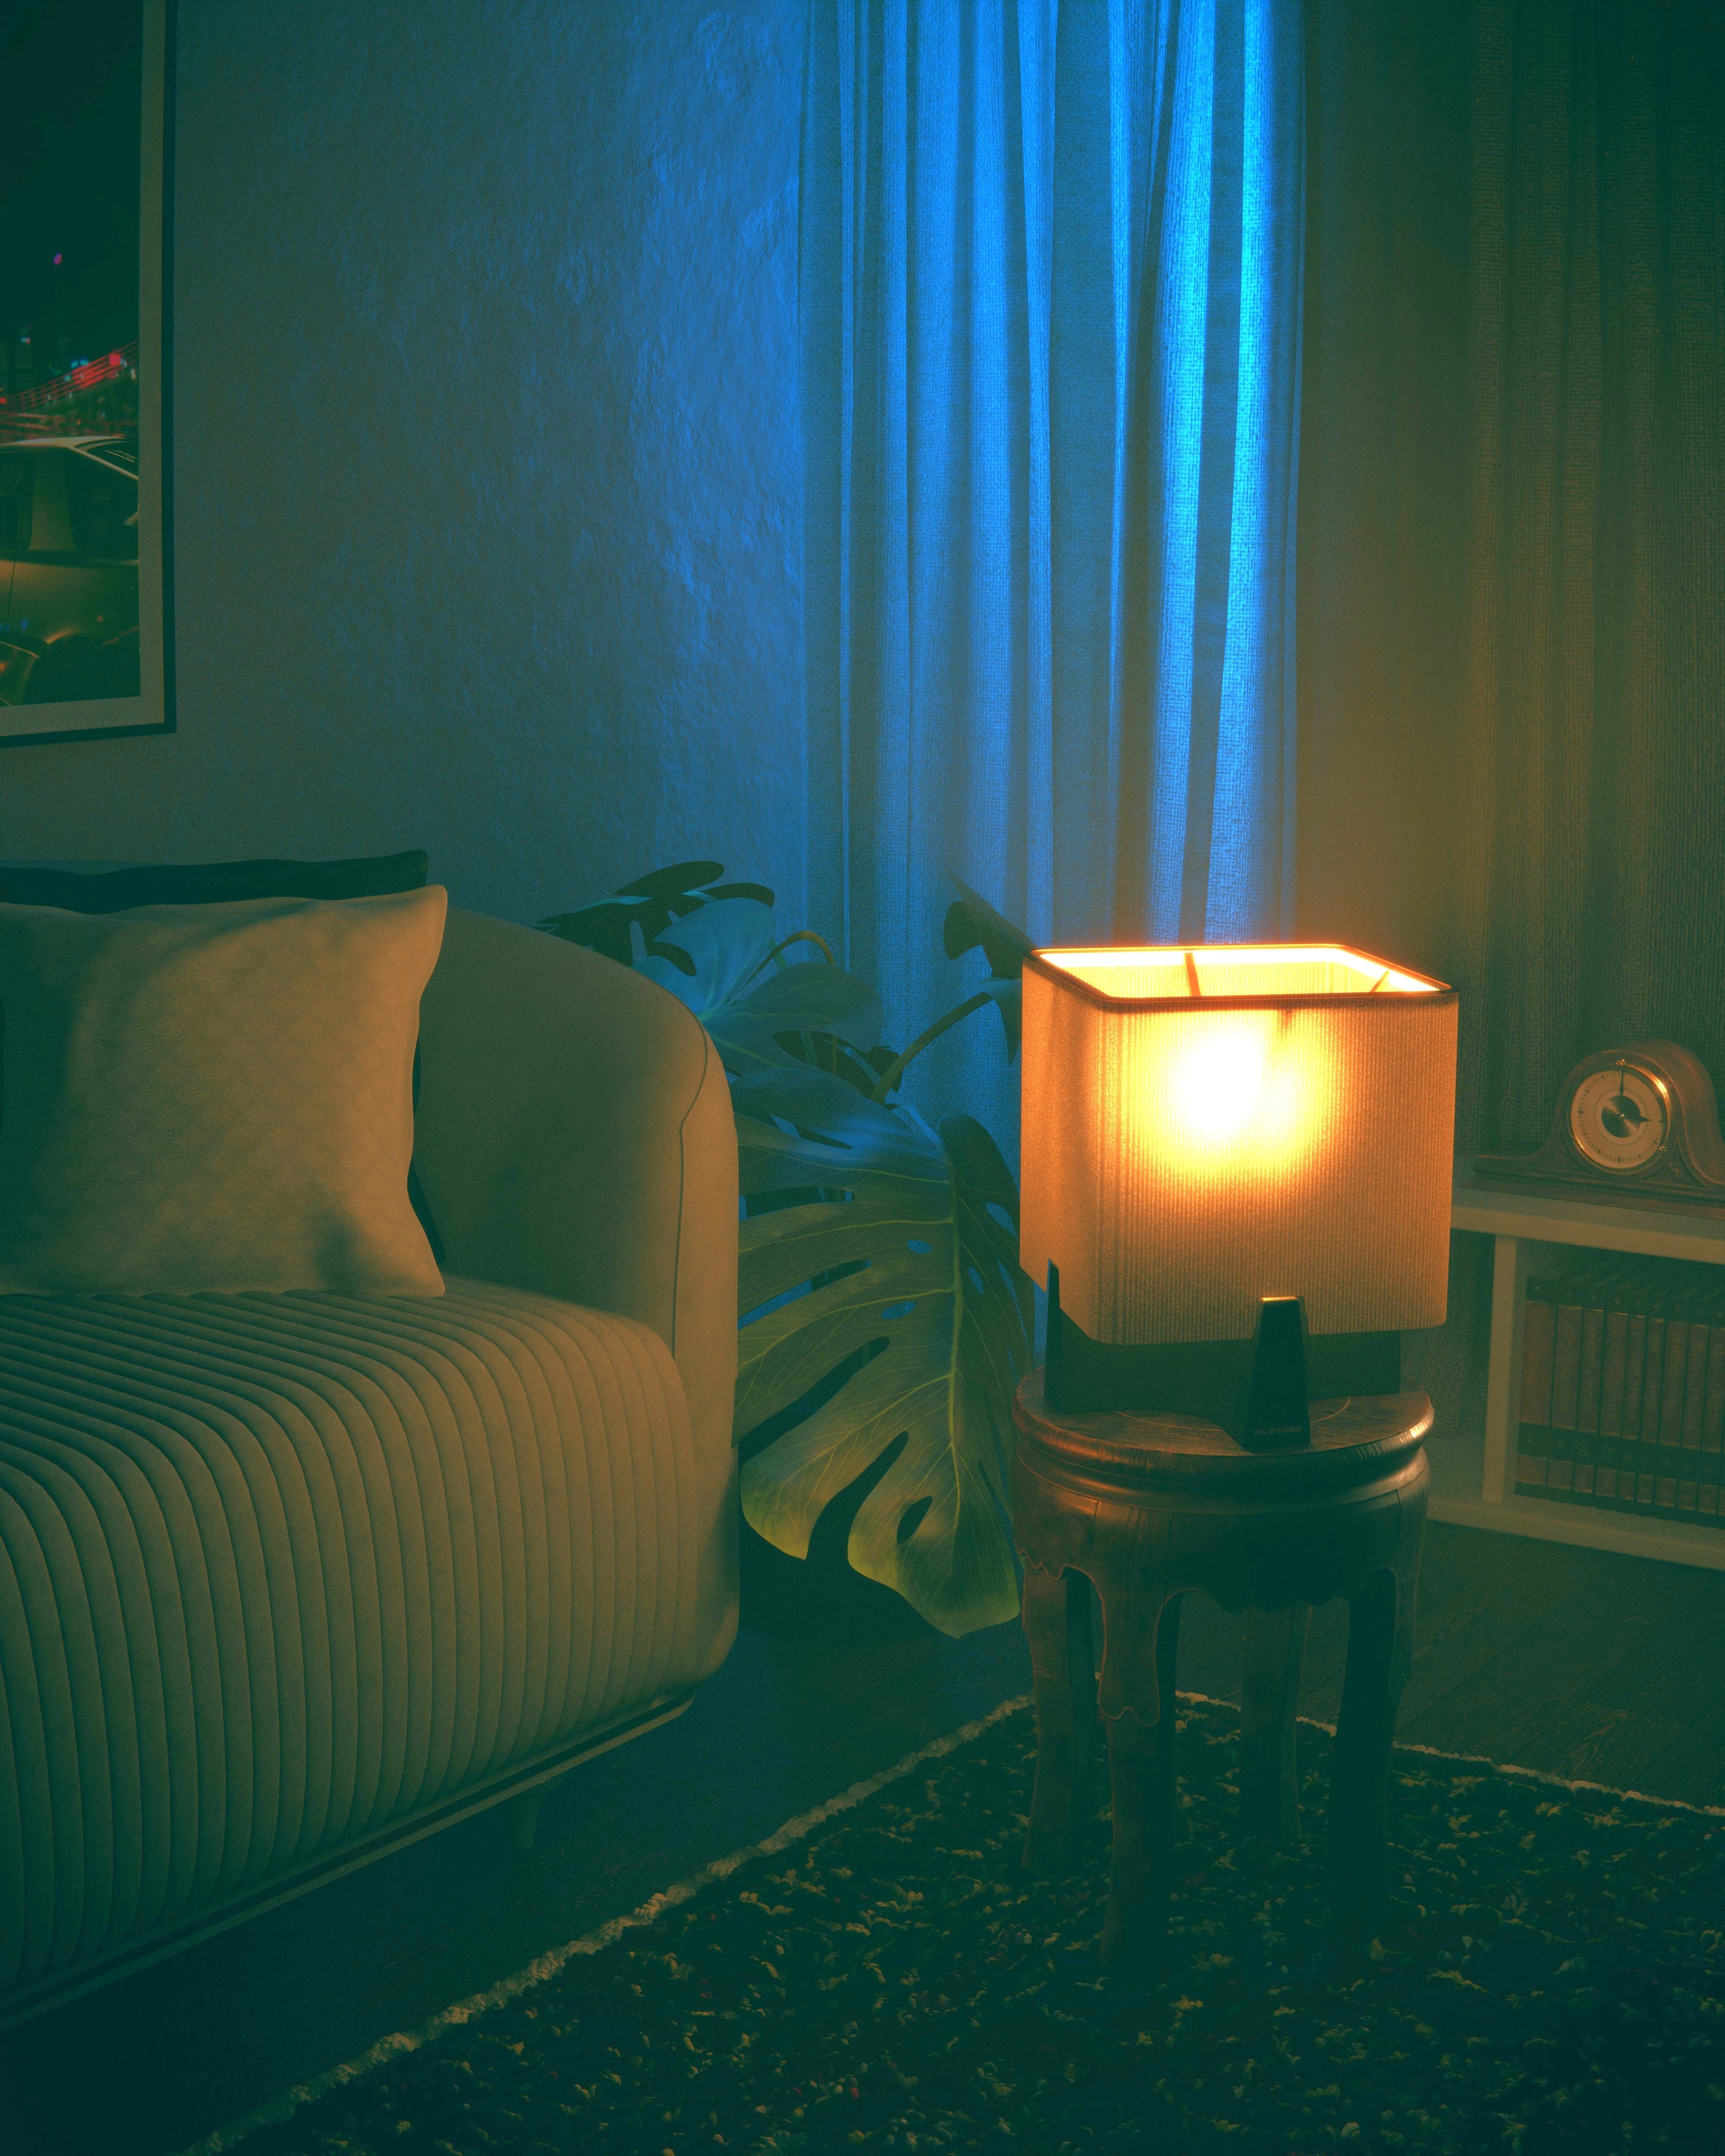
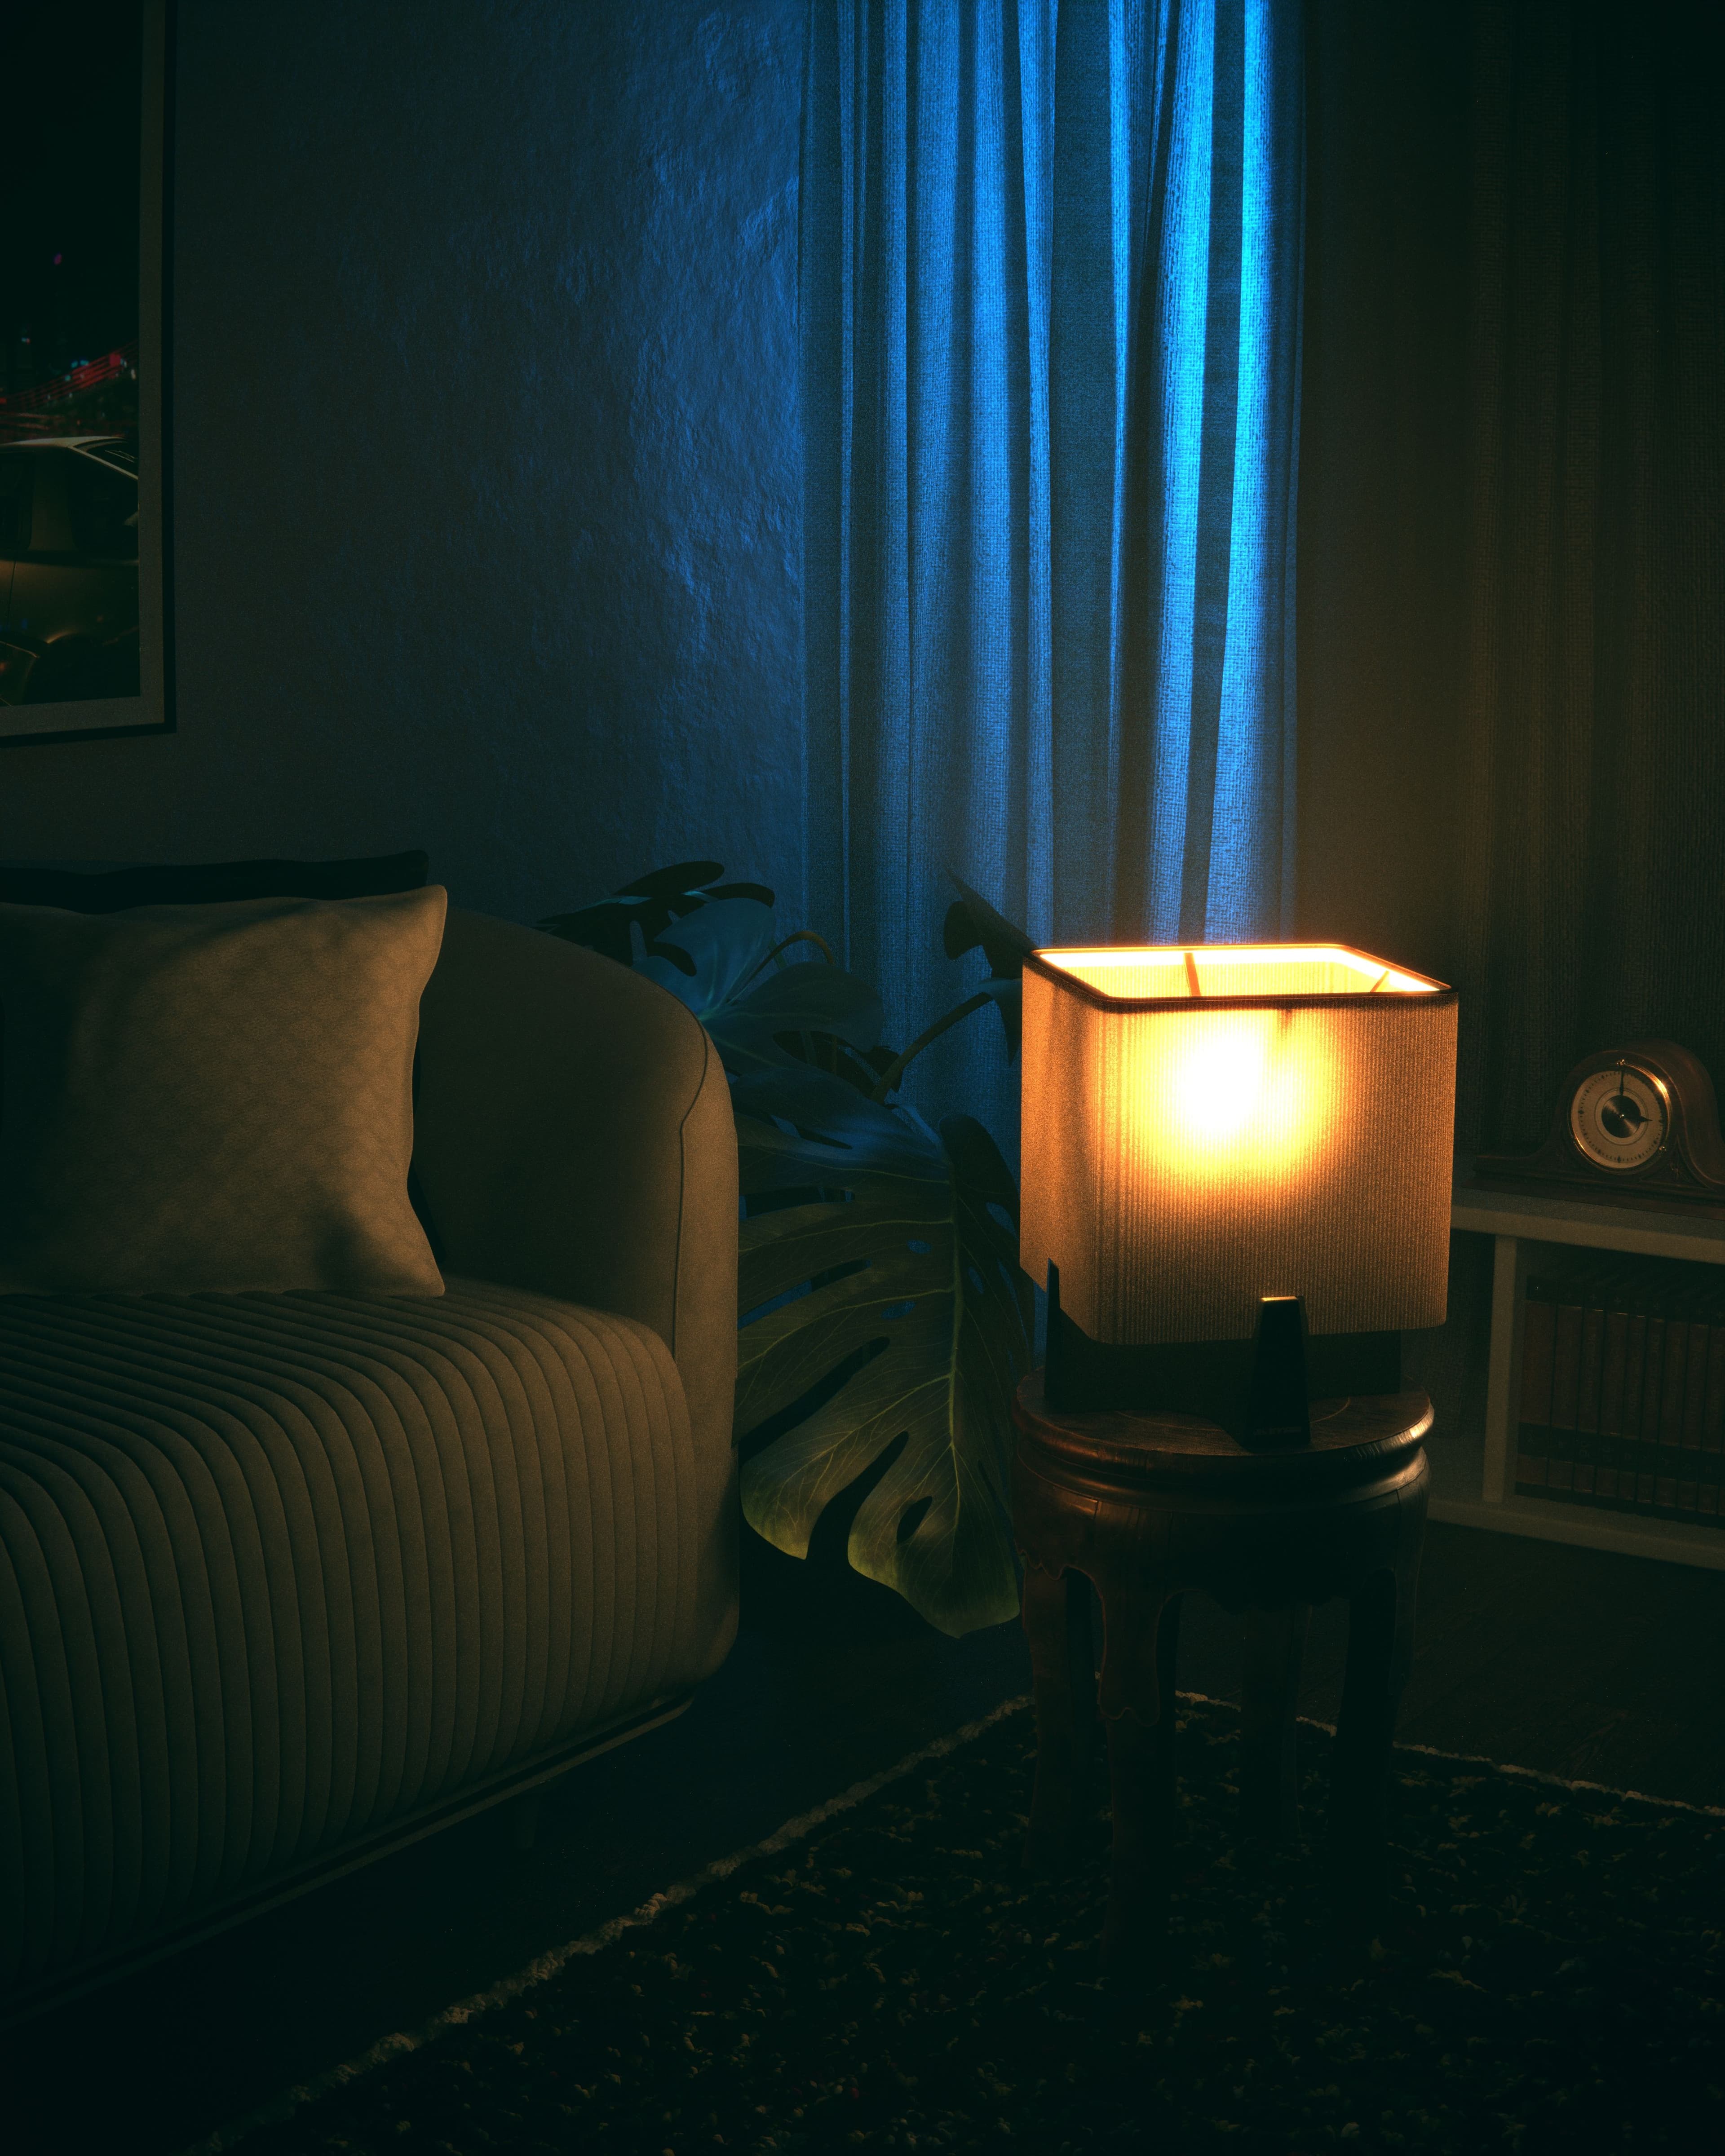
This is the actual Auto output shown on our homepage, processed October 2, 2026 from an unchanged licensed stock photo. Inspect the blue curtains, sofa texture and lamp edge. Shadows become more visible; mixed lighting and grain remain. It does not add sunlight or neutralize color casts.
Before
After · Auto
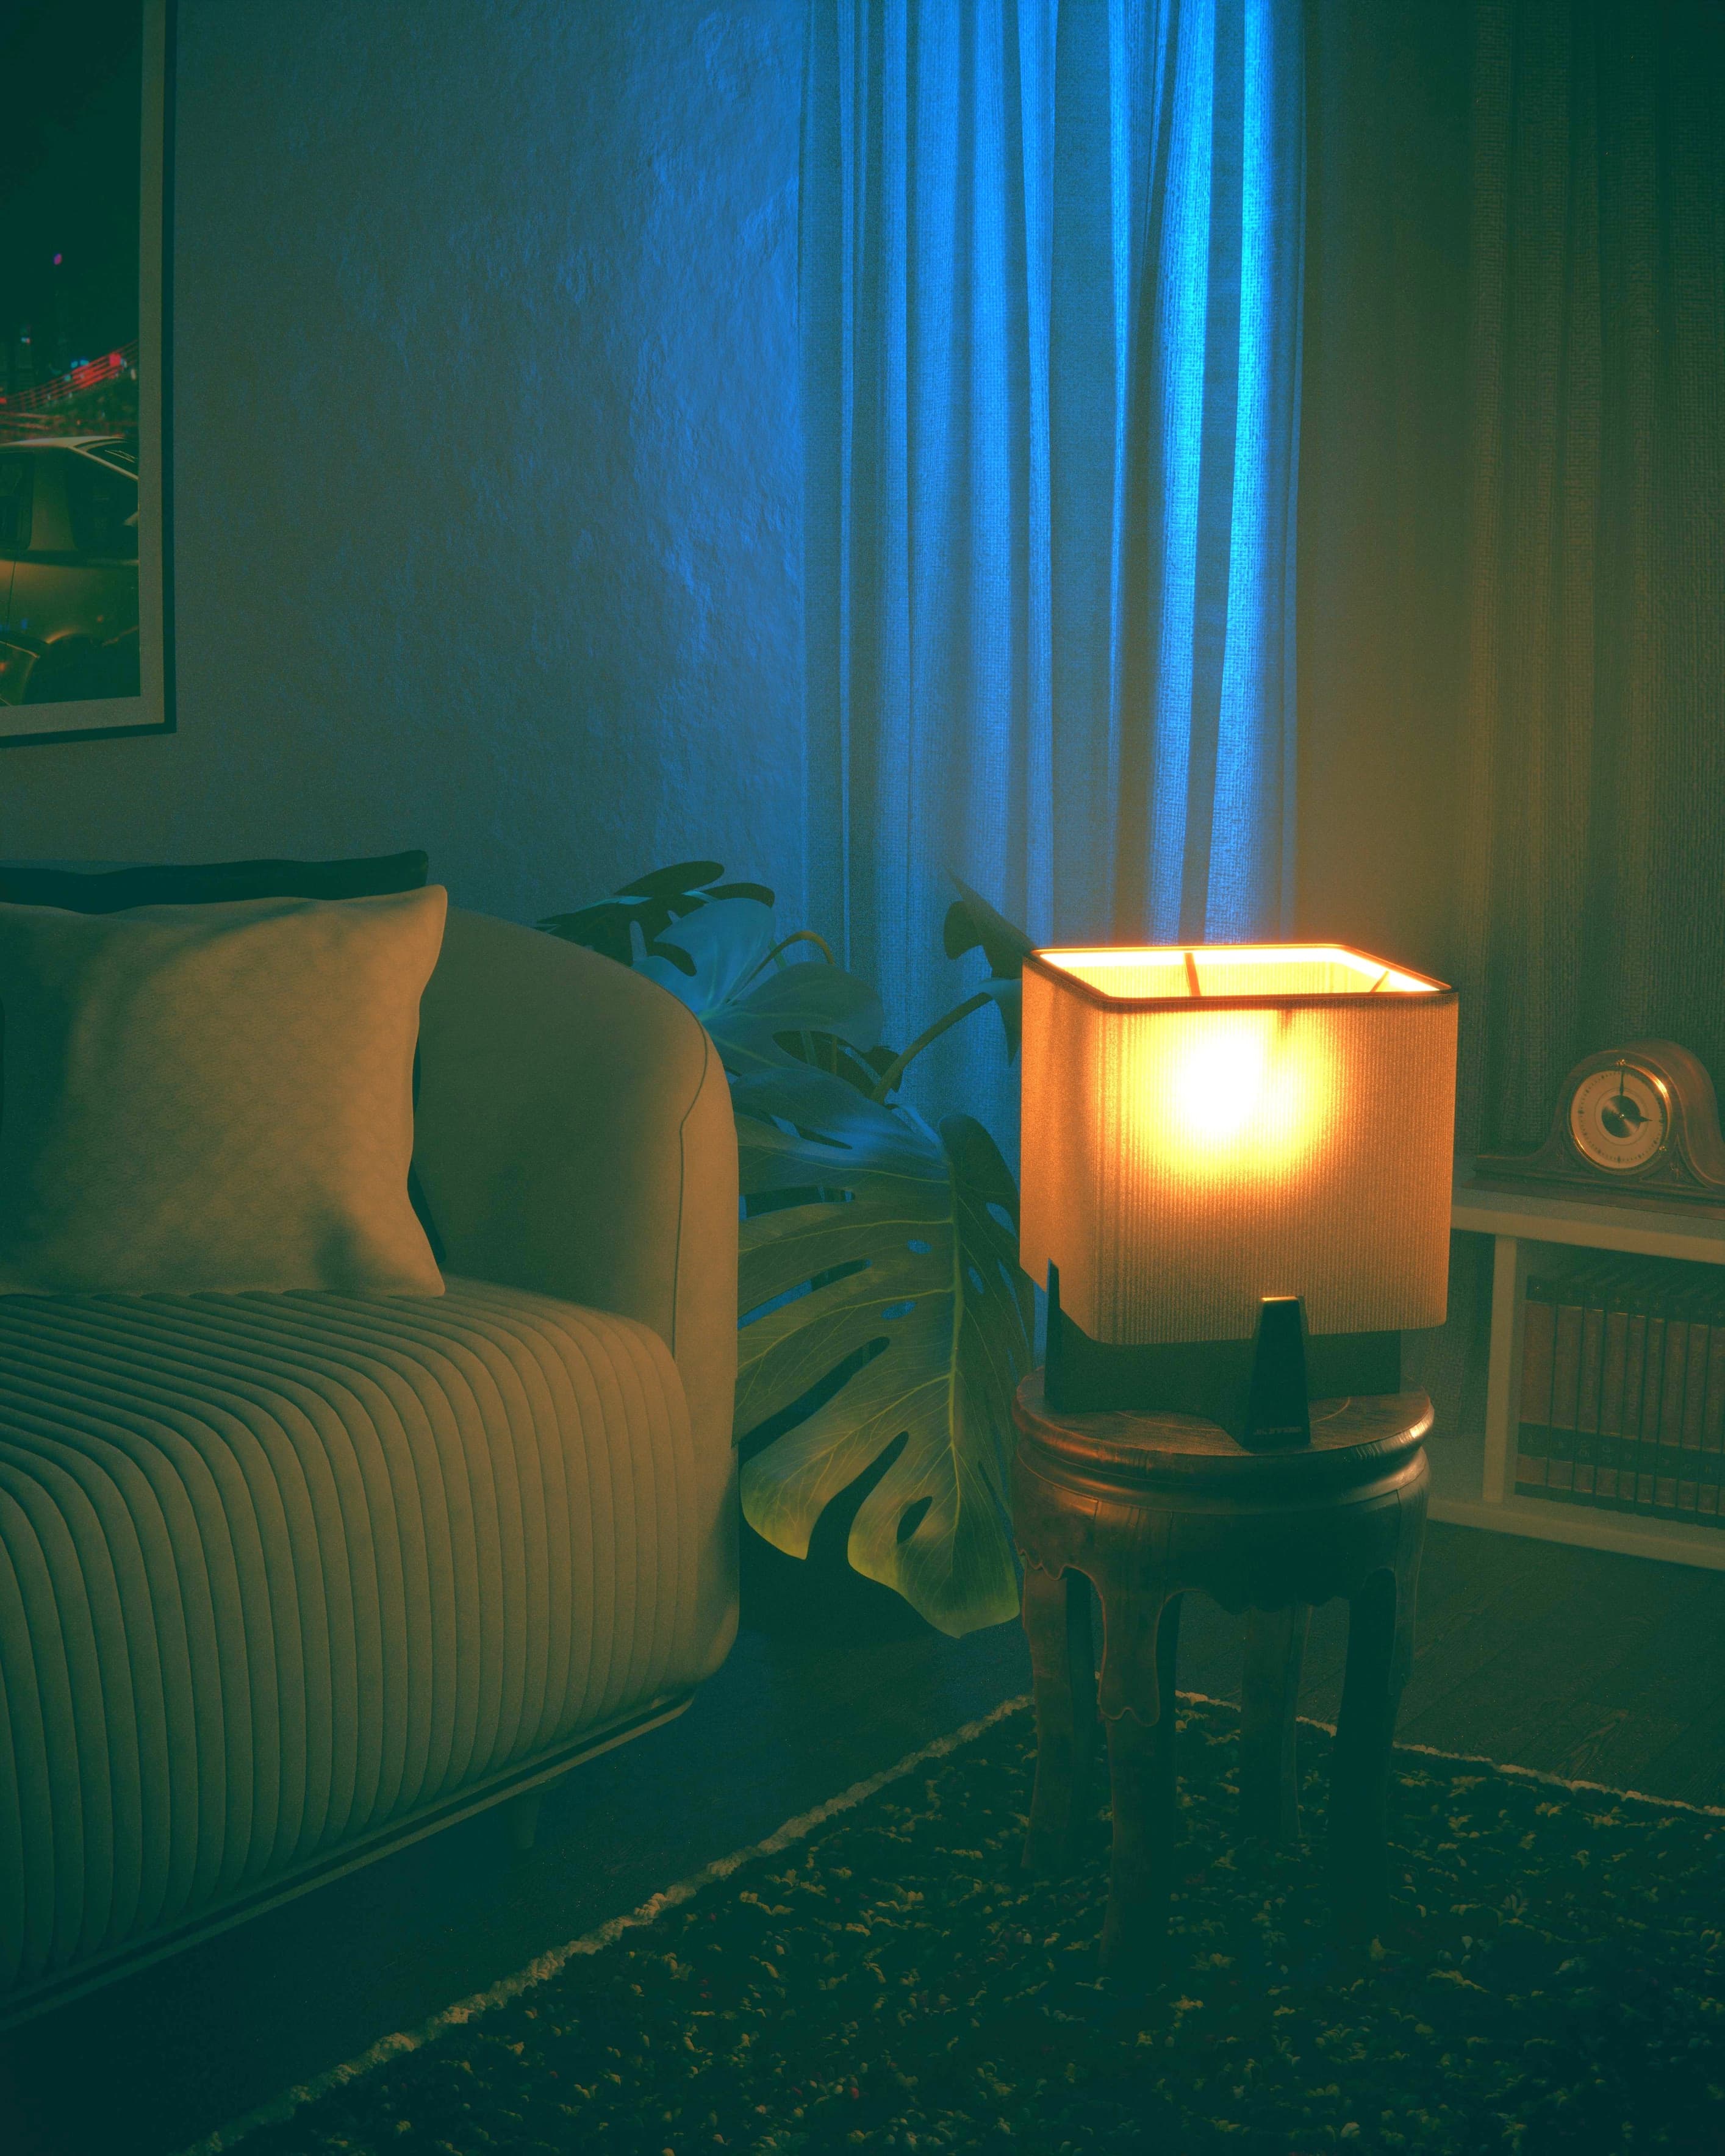
Real Auto output. Results vary.
Licensed stock photo by Yusuf P / Pexels · License. Same complete frame, unchanged original. Auto lifts shadows and lightly sharpens; grain remains. Output is 2828 × 3535 pixels. Not a customer case or detail-recovery example.
If this level of tonal correction suits your photos, review plans and billing terms. Photo processing is paid upfront. The historical examples below show earlier recorded results, not additional promises for the current version.
This source is a bright, already edited stock photo. We passed it unchanged through the adaptive Auto pipeline on October 2, 2026. These are recorded v2 outputs, before the shadow-v3 update. It received no exposure lift. The change is subtle; this example does not show blur recovery or a customer result.
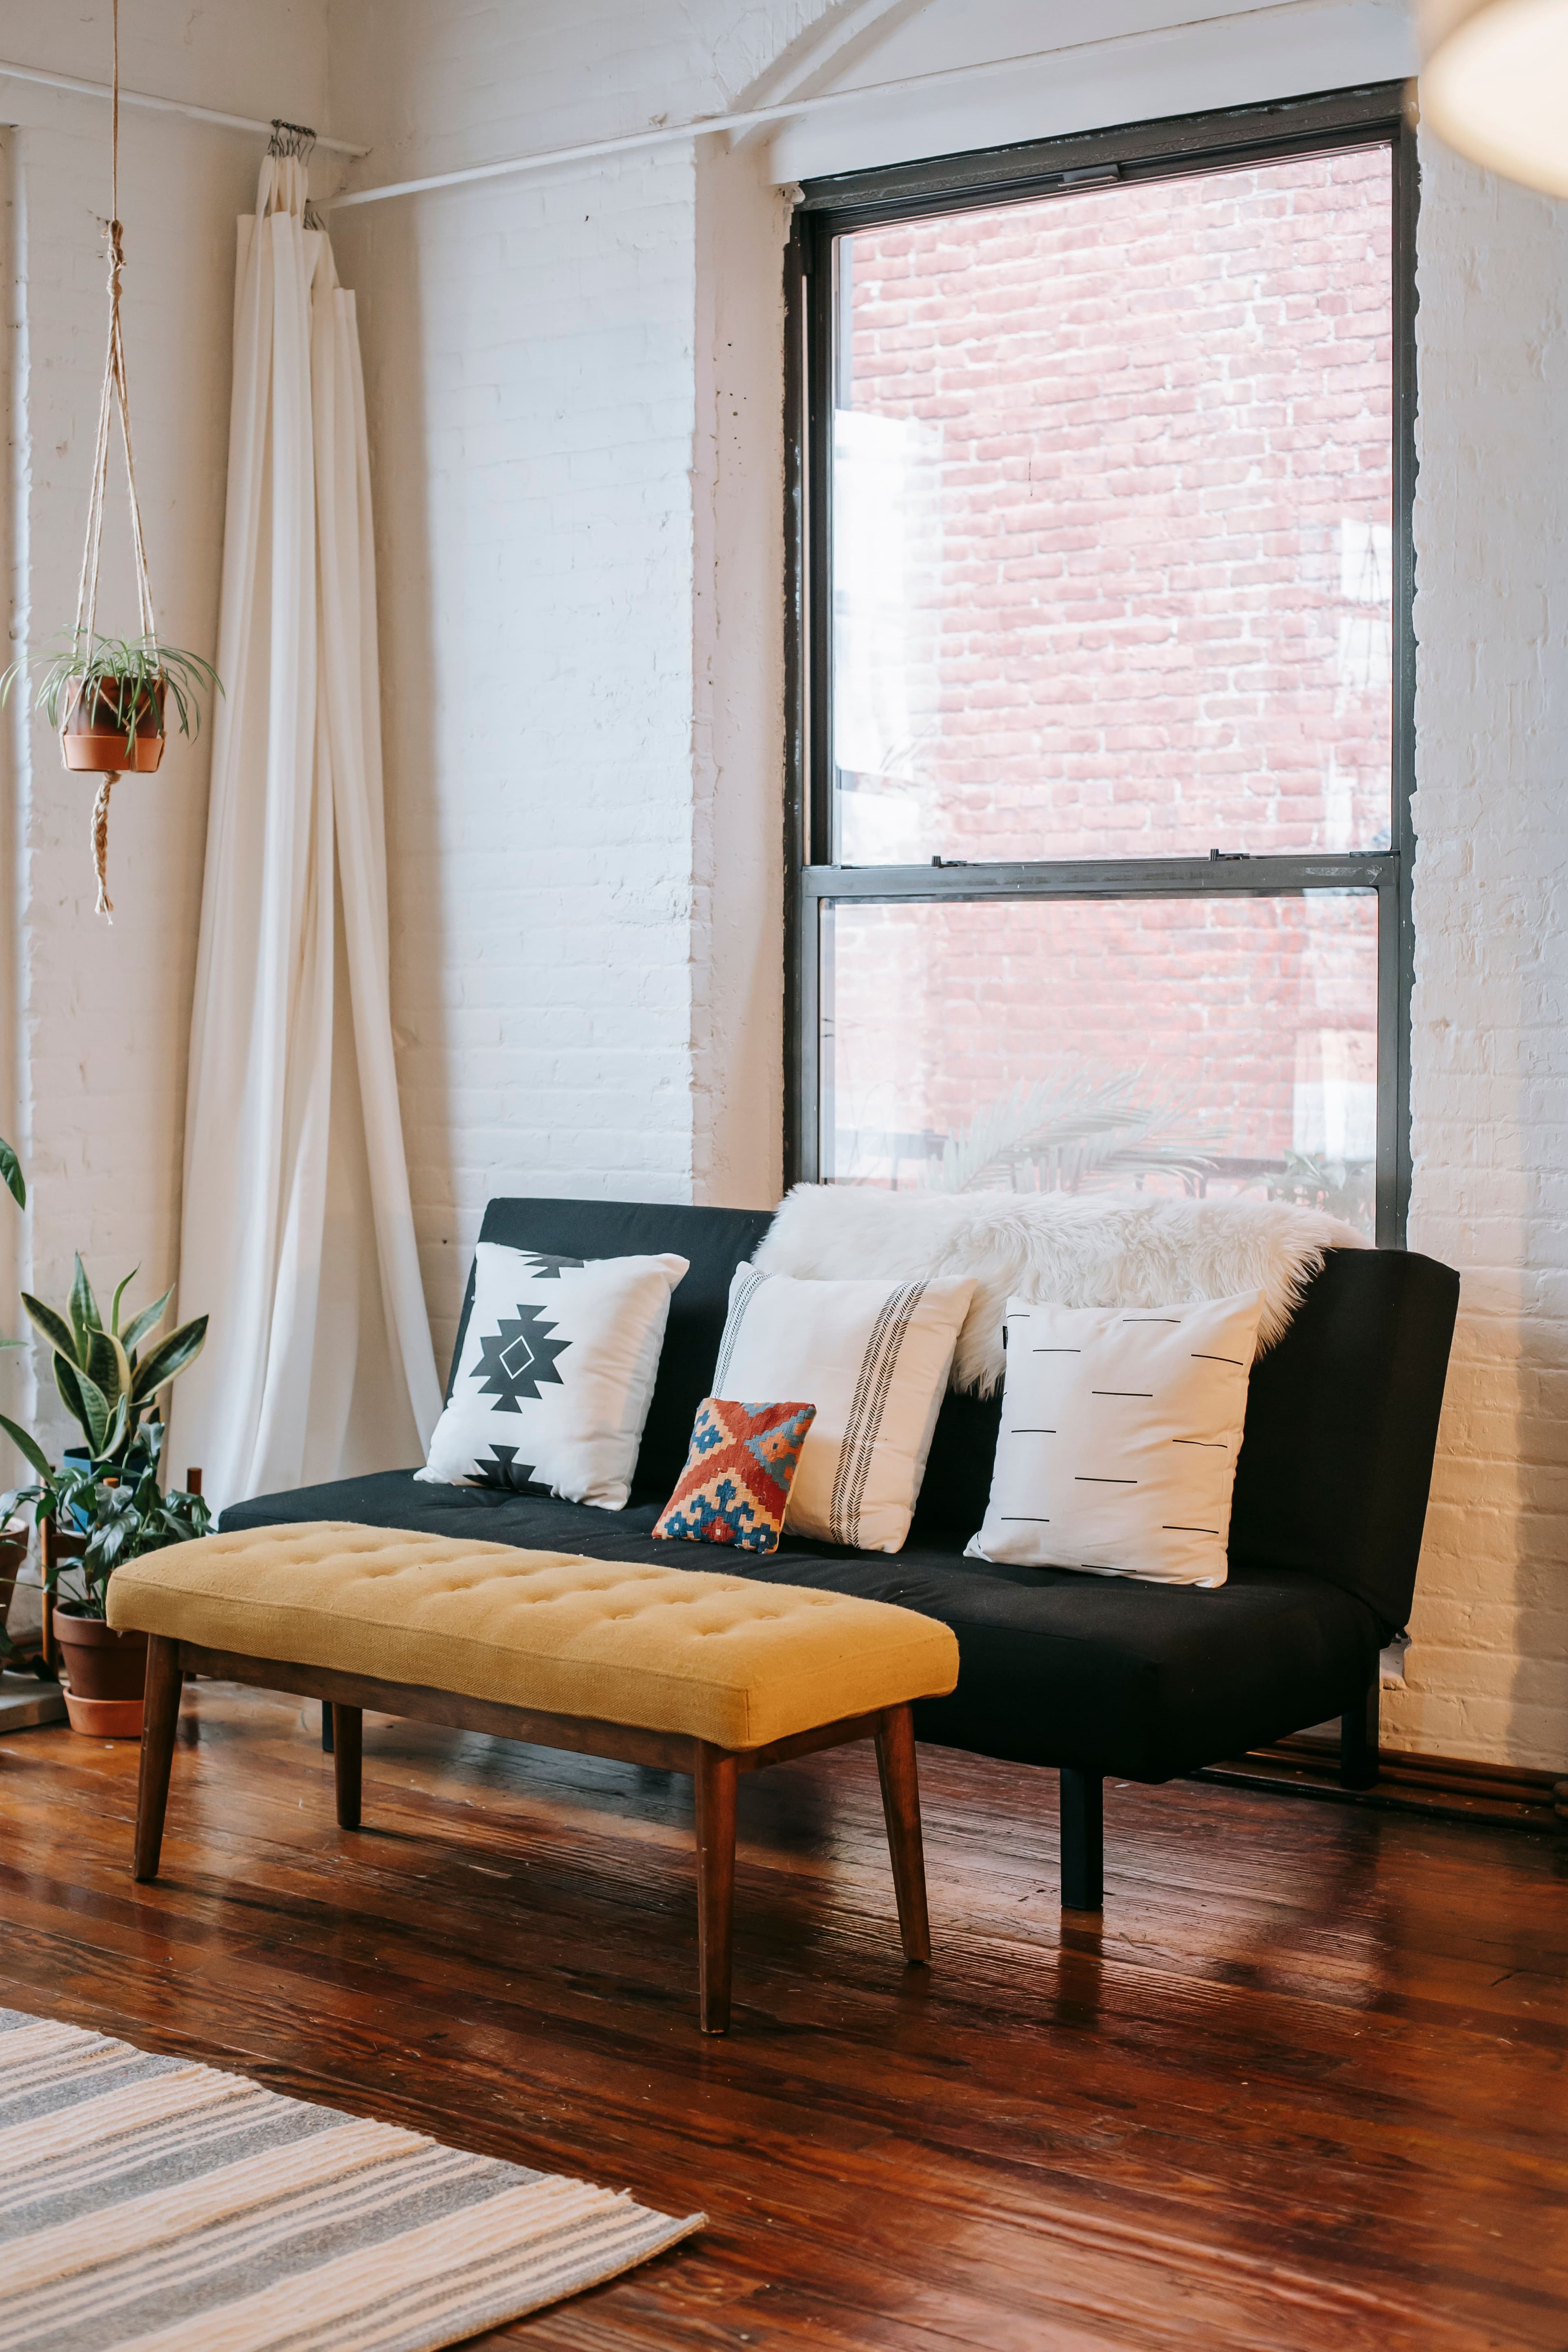
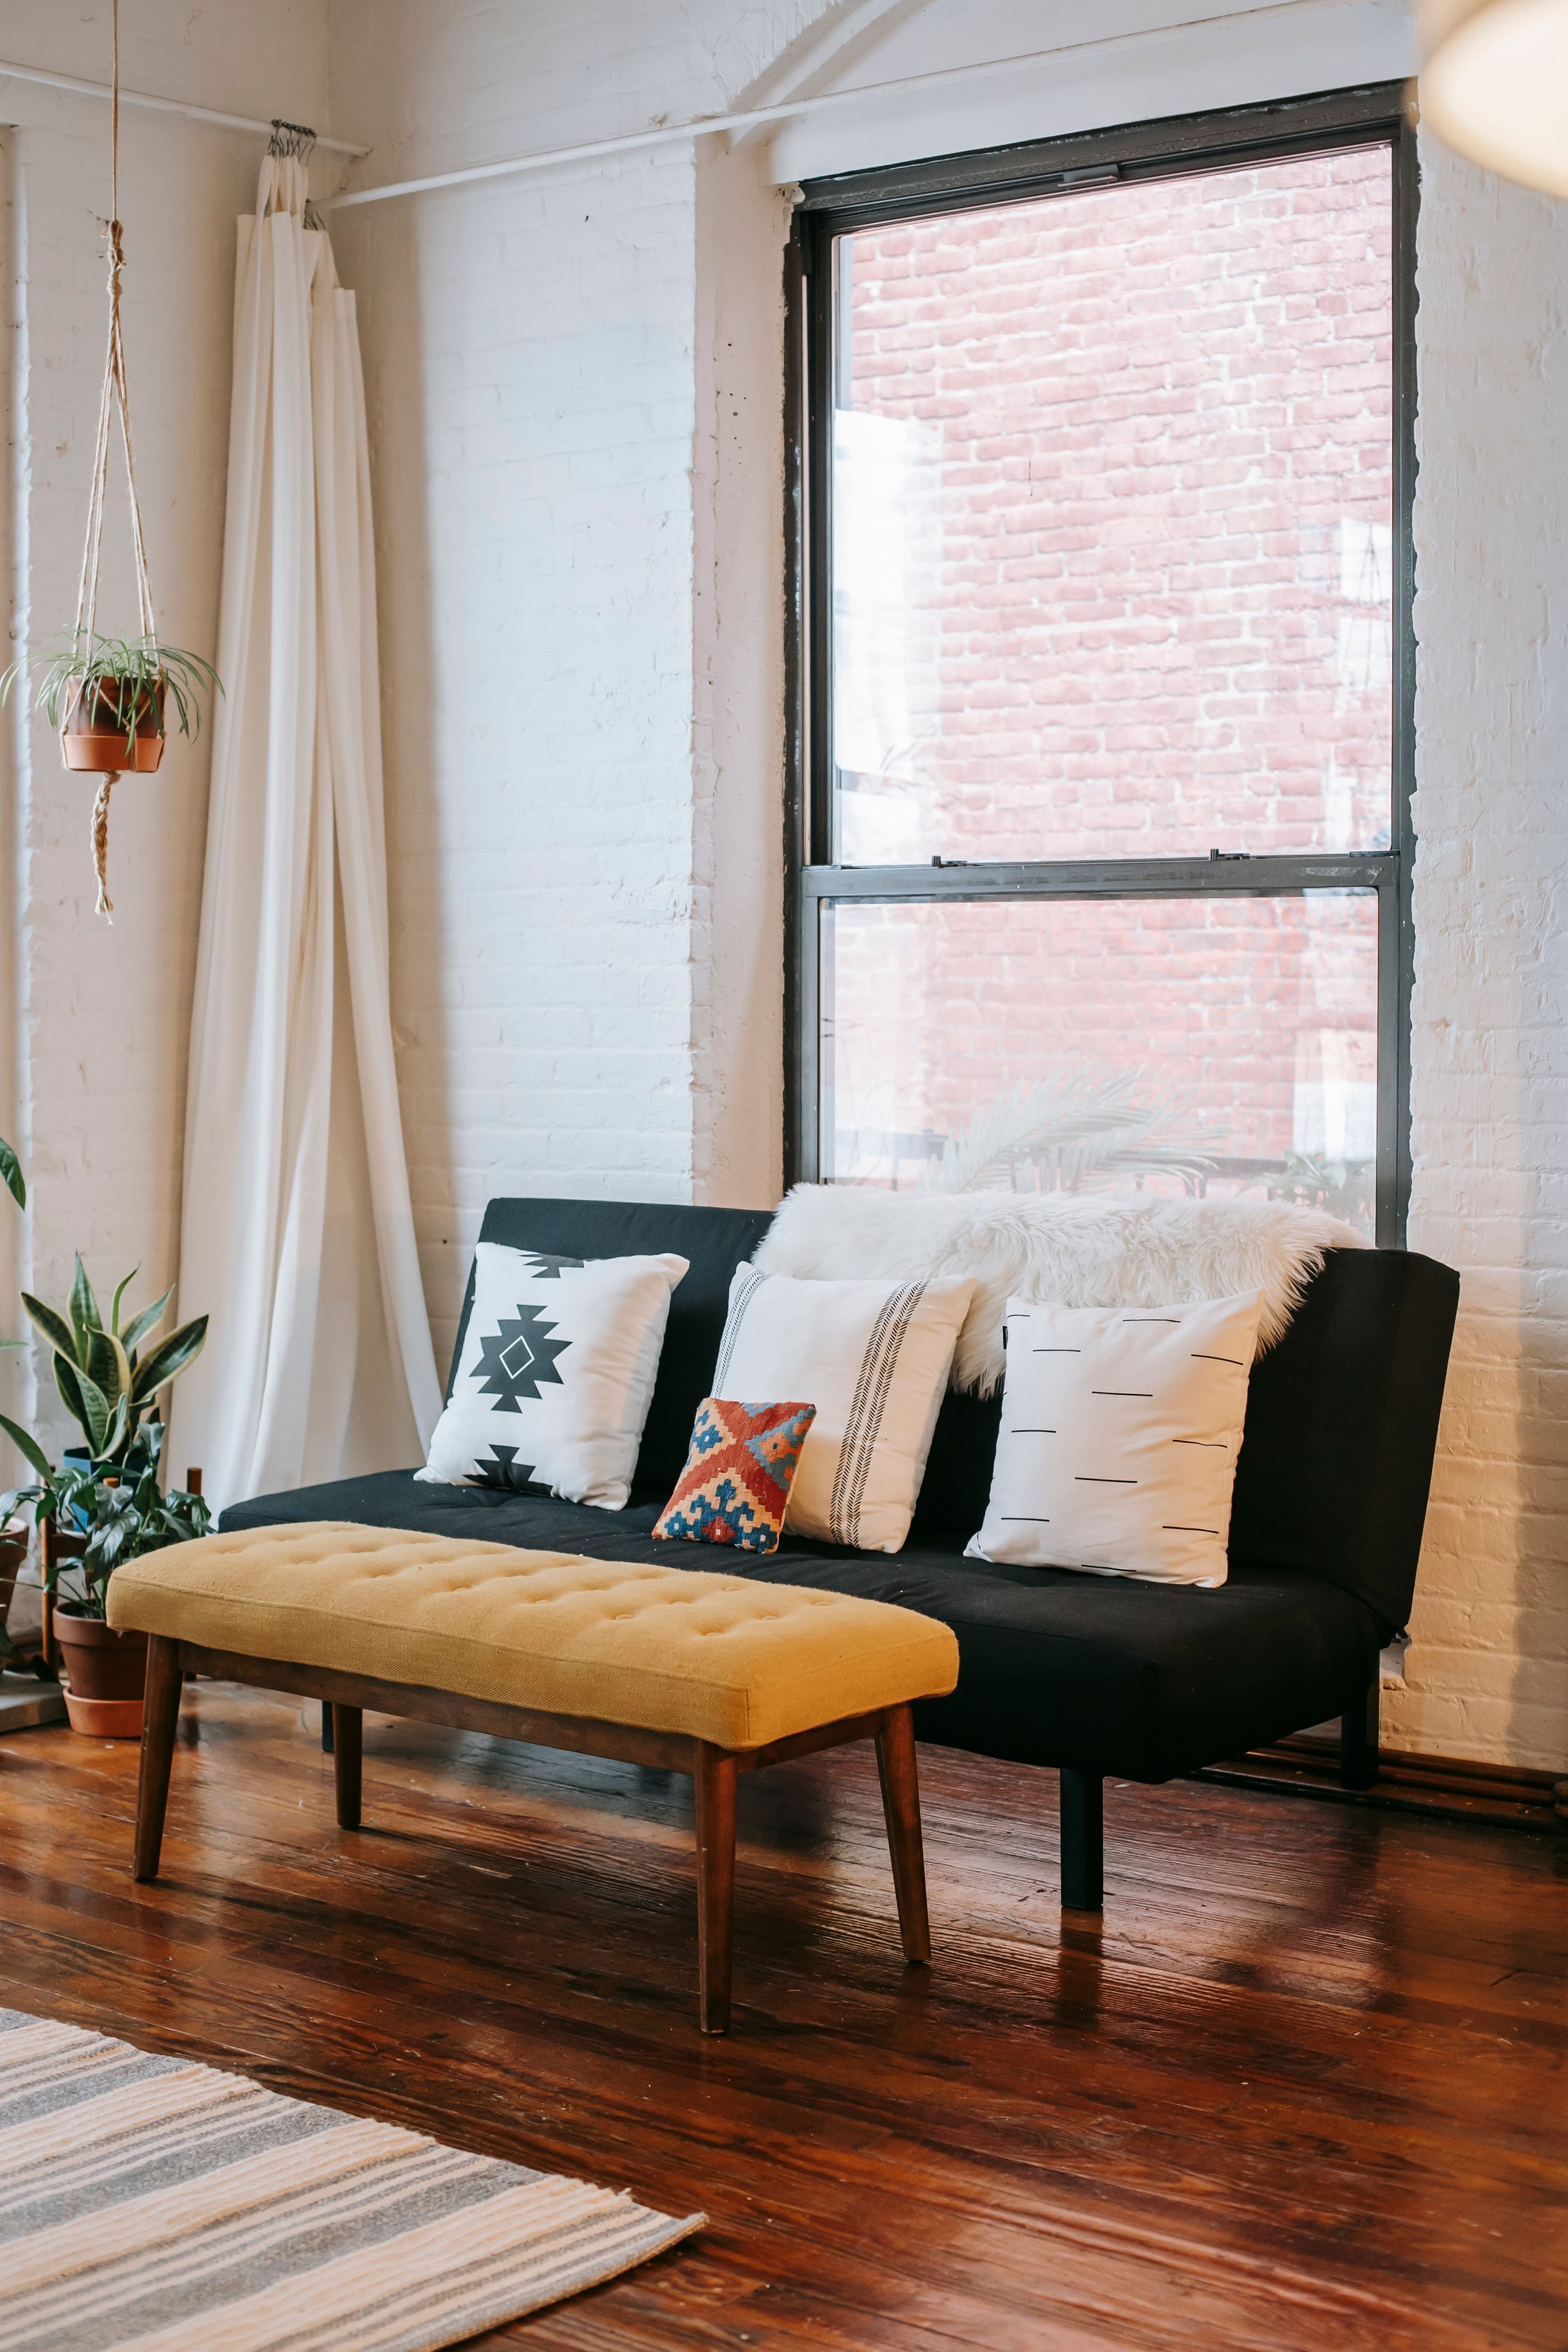
The current shadow-v3 comparison is on the homepage; larger Auto exports are now bounded to 10 megapixels.
Both files are 3893 × 5839 pixels. Auto did not upscale this input. Compare texture and bright areas before deciding which version to use; correction is not necessarily helpful on every image.
Photo by Charlotte May via Pexels, used under the Pexels License. Right-hand image modified by Voxelyo using Auto. No photographer endorsement is implied.
This licensed stock photograph intentionally has a dark, atmospheric look. Recorded Auto v2 lifts its shadows, making the curtains and bedding more visible. Its warm color remains, and grain can become more noticeable. Brighter is not always the right choice for the property.
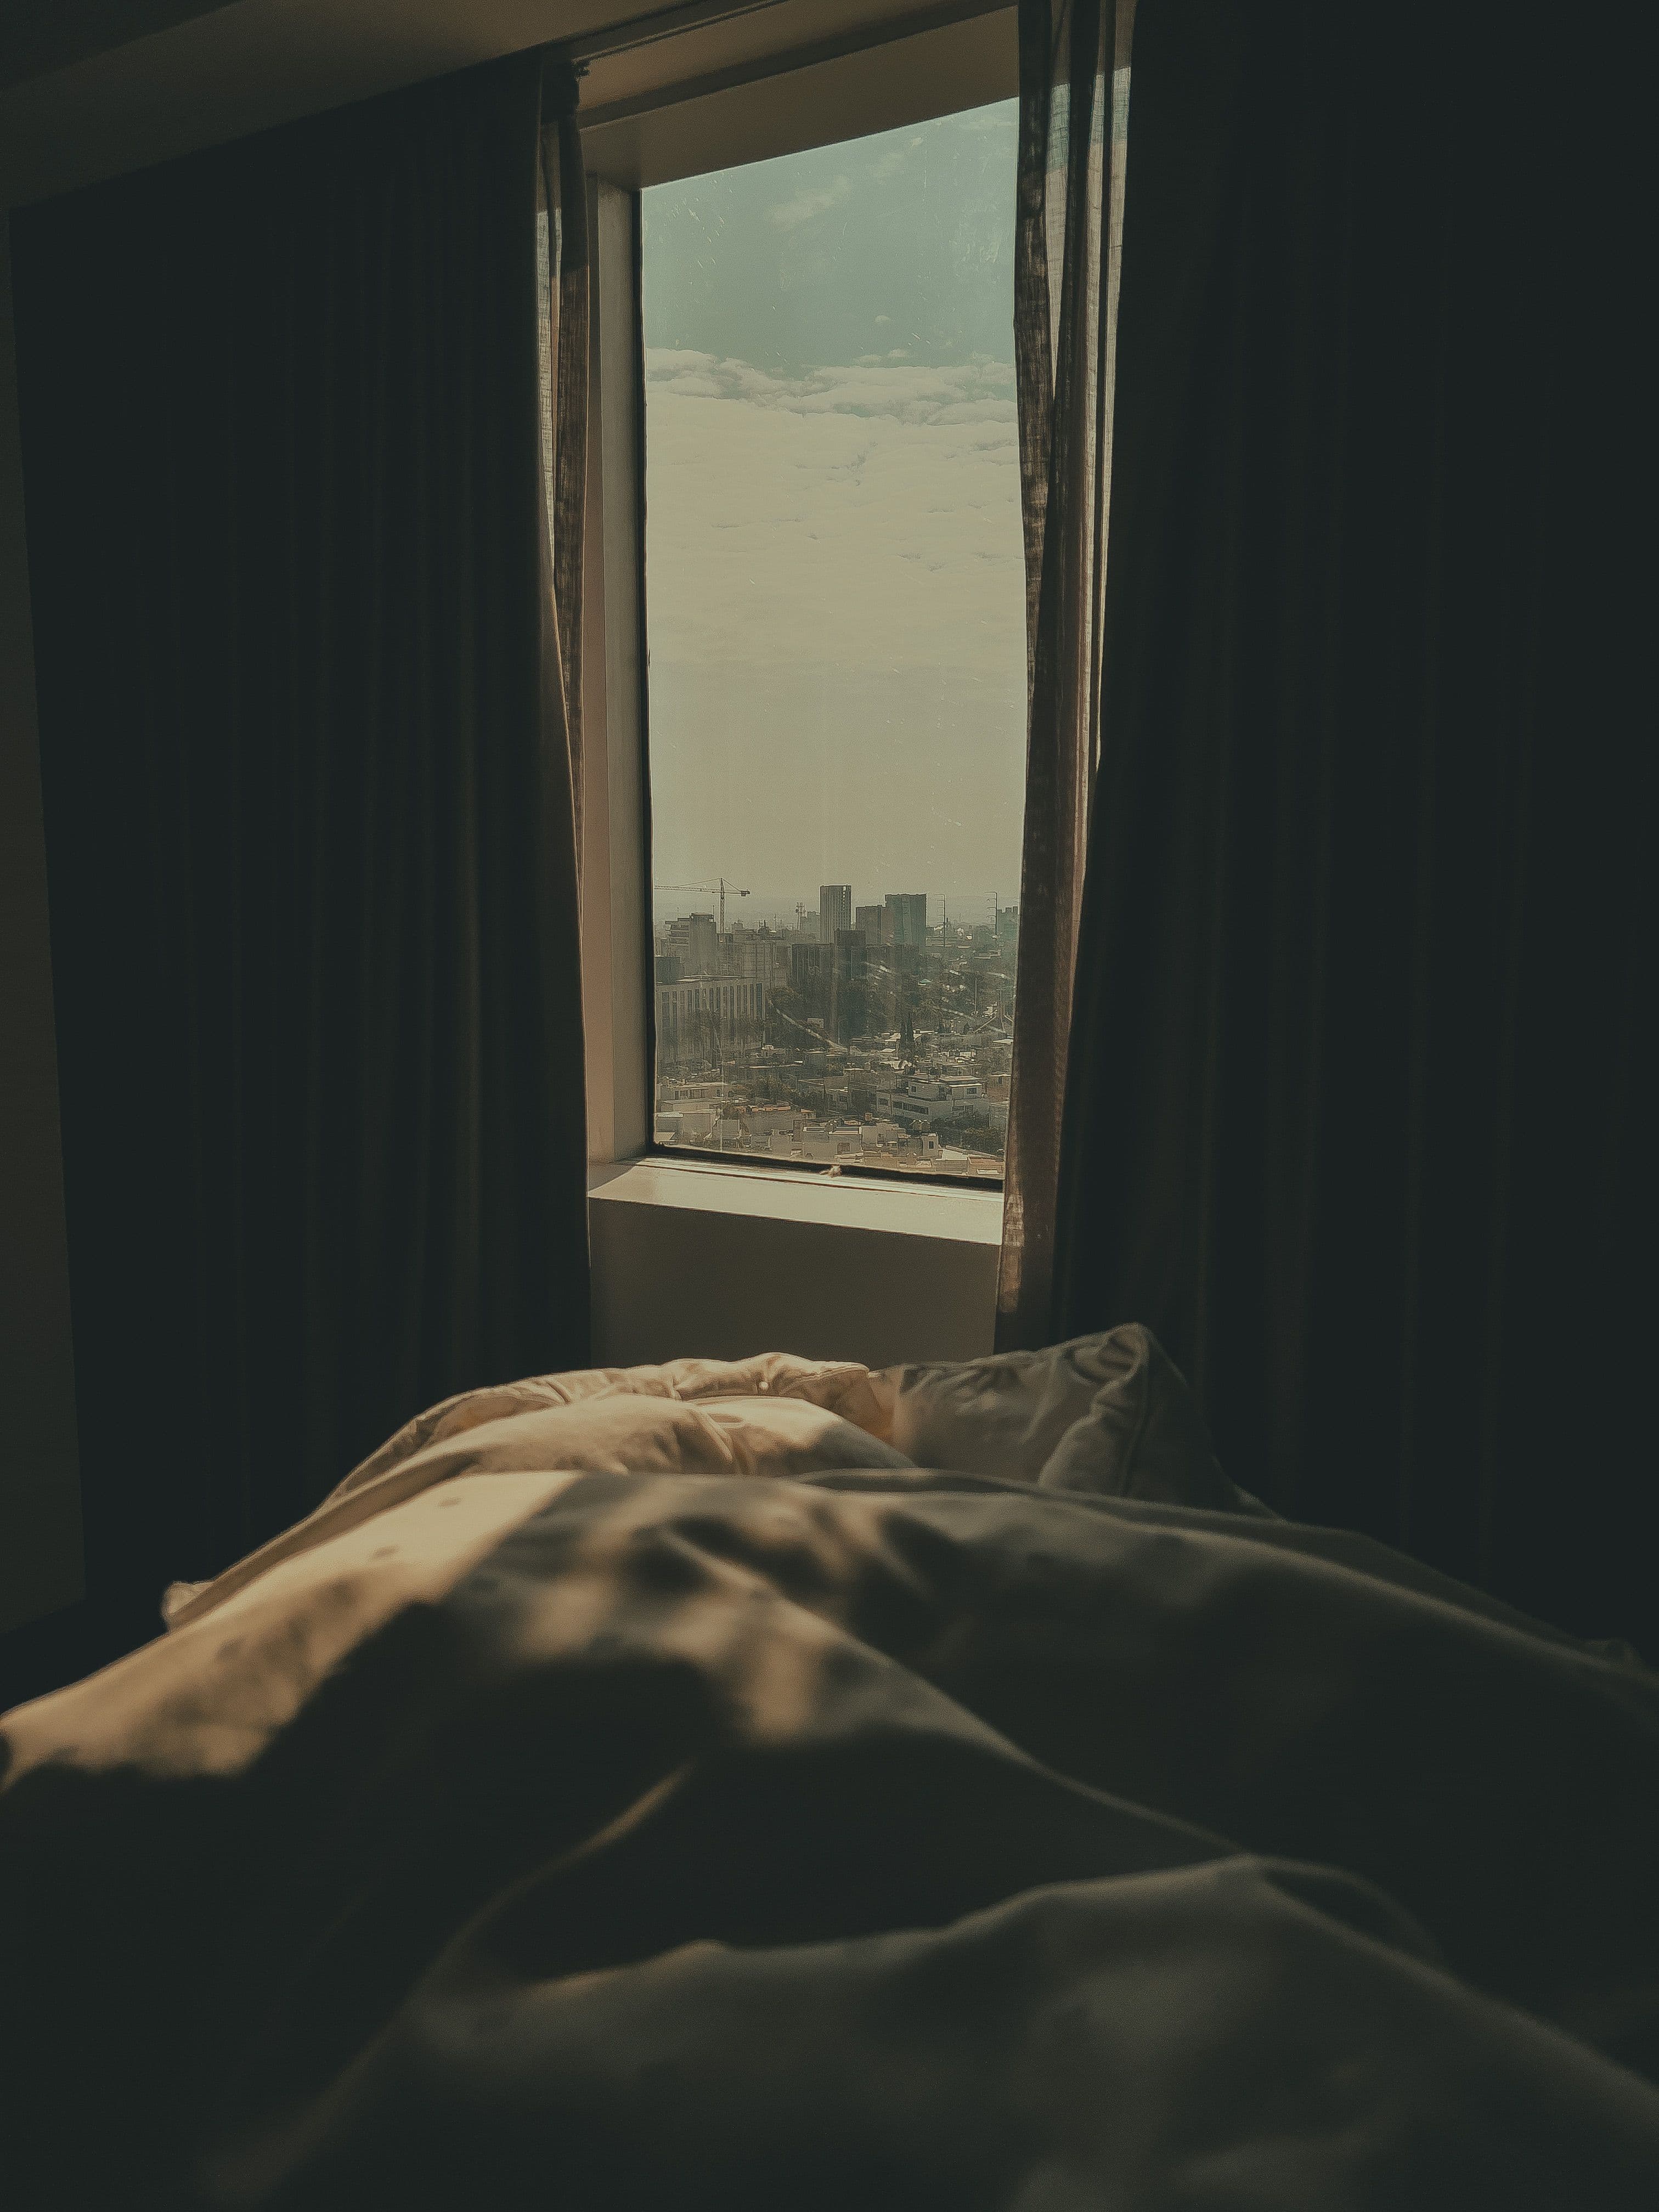
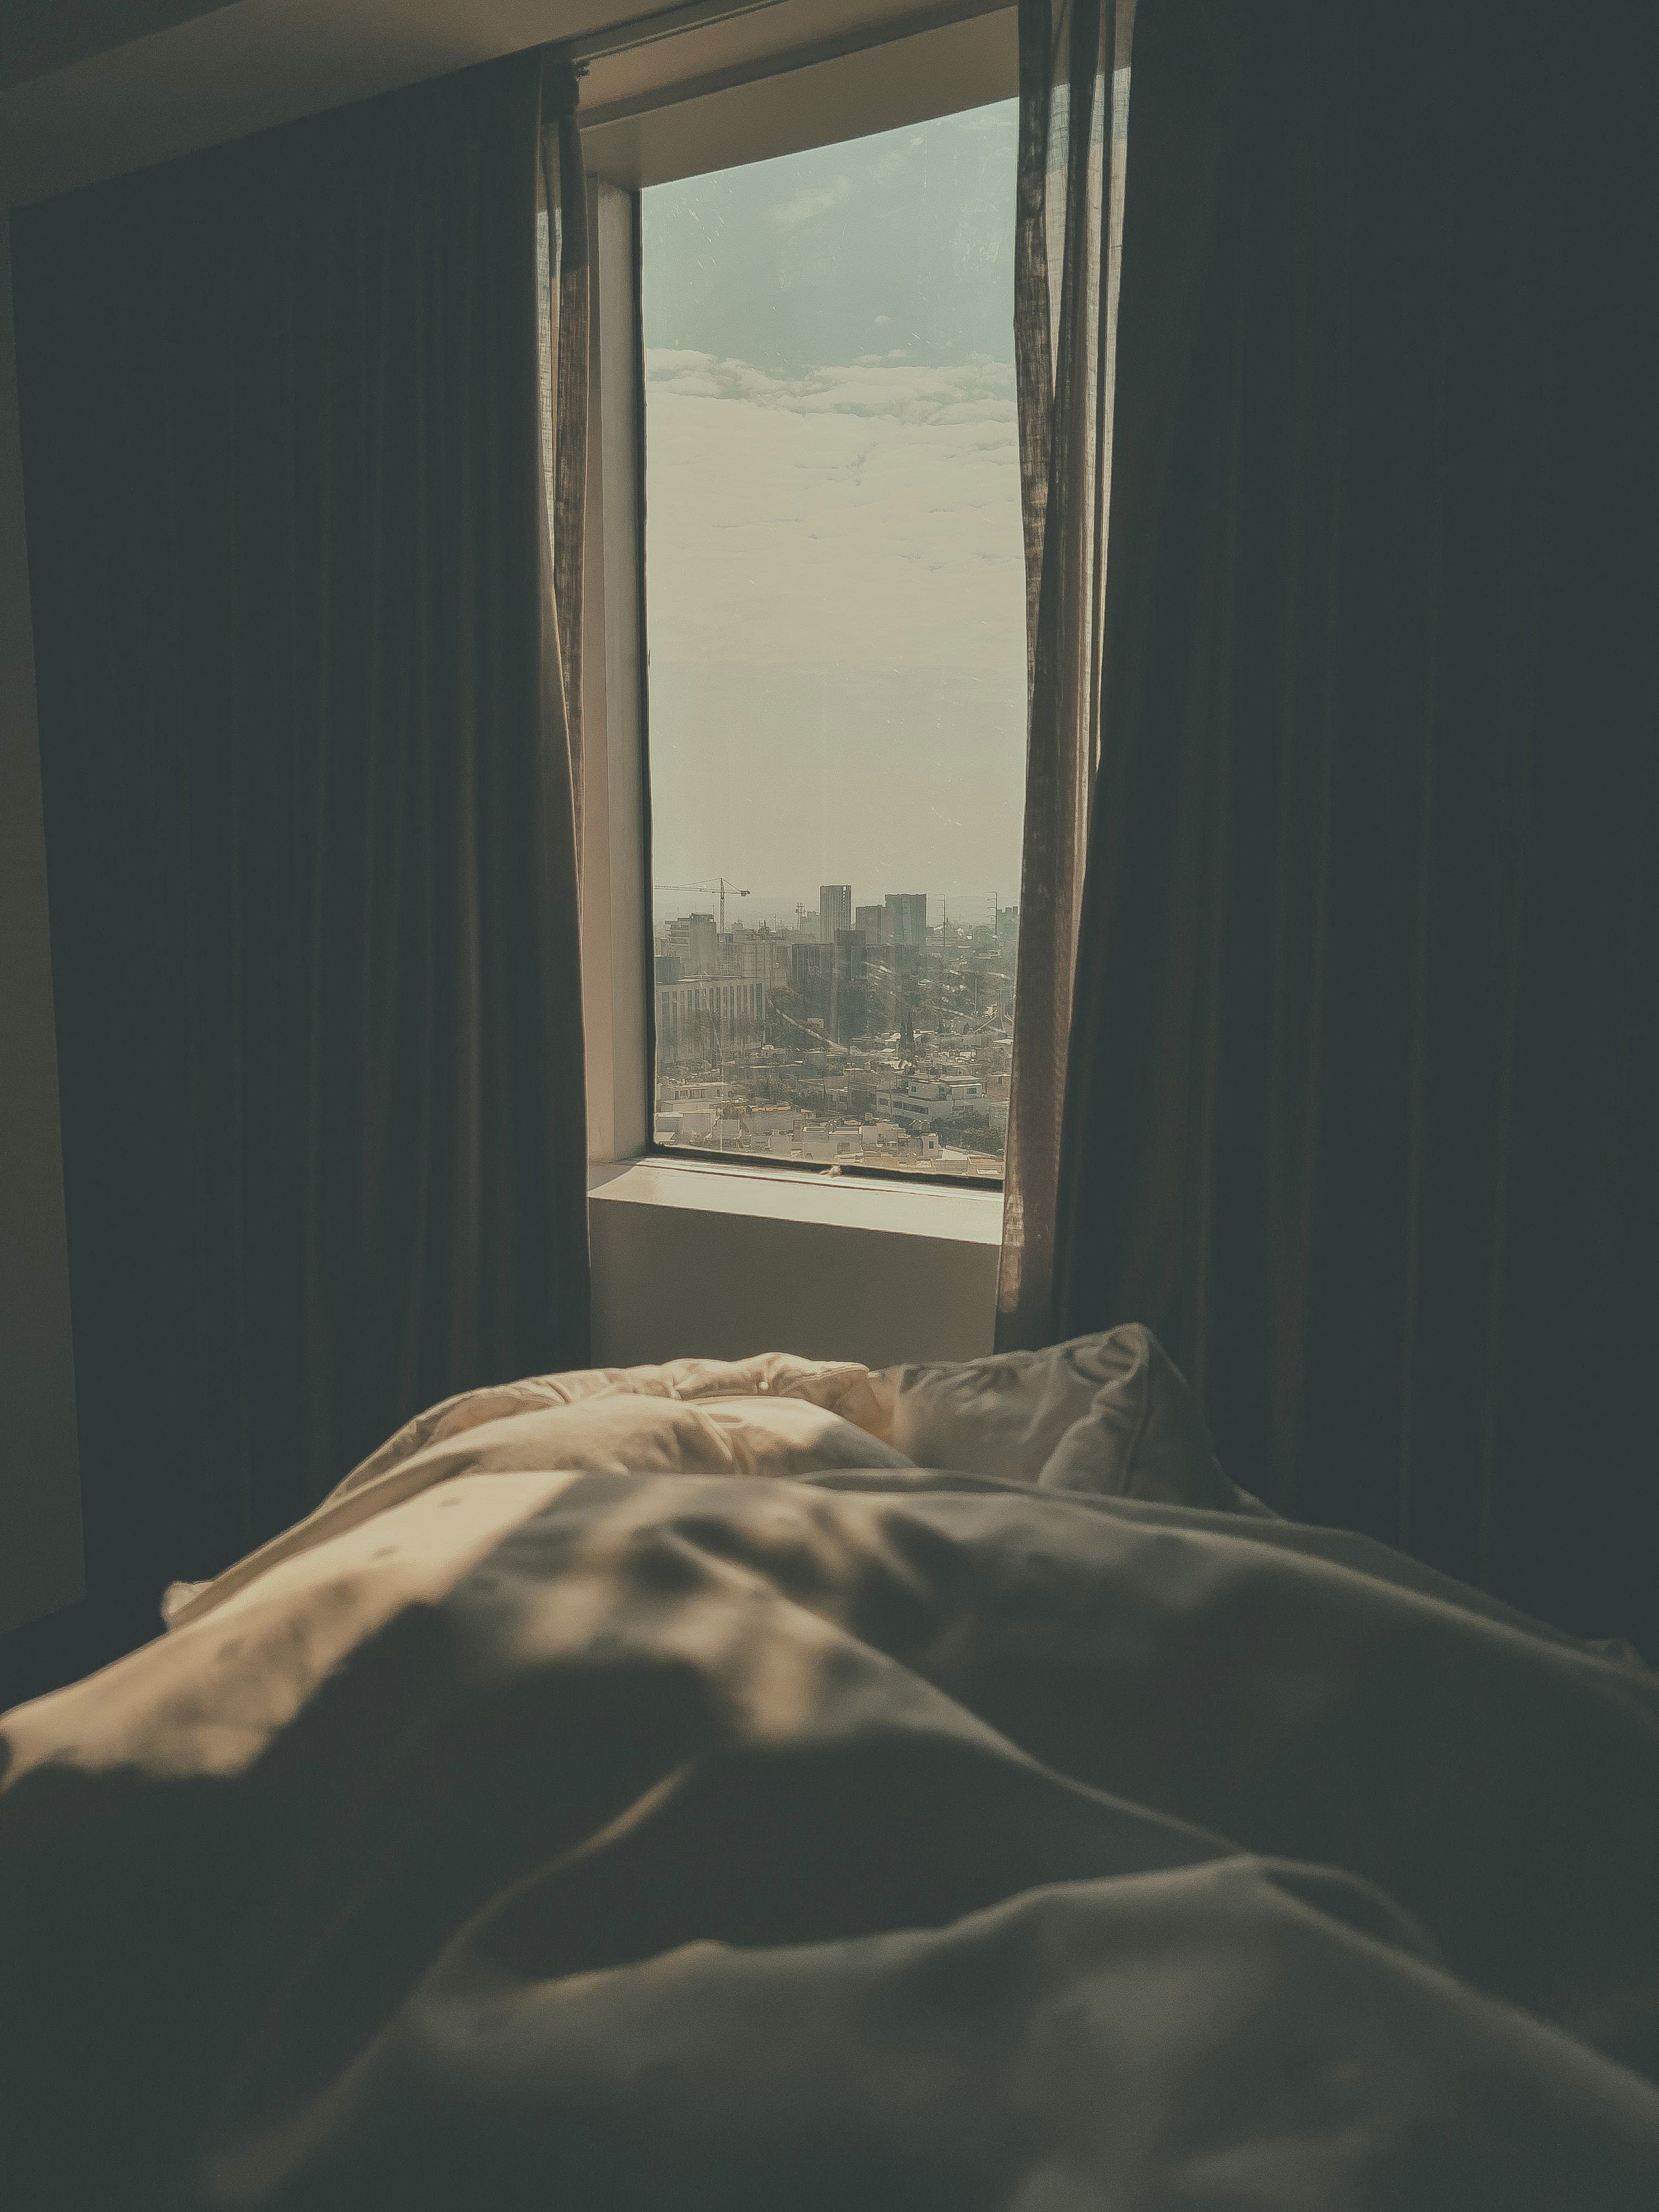
Processed October 2, 2026. Both files are 3024 × 4032 pixels; no upscaling was applied. This demonstrates tonal adjustment, not denoising, blur recovery or recovered clipped detail. Check the result against the real room before publishing.
Photo by Moises Caro via Pexels, used under the Pexels License. Right-hand image modified by Voxelyo. This is not a customer case or photographer endorsement.
Choose Vivid when the photo looks flat and you want more brightness and saturation. It is still a fixed grade rather than a generative scene edit. Check that strong colors and bright surfaces continue to represent the real property accurately.
Twilight darkens and cools the existing image and adds a soft vignette. It does not create a sunset sky, turn on exterior lights, or simulate new lighting. The effect reads most naturally on an exterior photo that already has visible sky and lighting in frame. See theTwilight mode guidefor examples of where this treatment fits.
The generative option replaces an overcast sky in an exterior photo. It is not a general repair mode for blurry, dark, or noisy rooms. Generative editing can alter details beyond the sky, so compare the result with the original and confirm that the property remains accurately represented before using it in a listing.
You can keep the same uploaded image, choose another mode, and run it again. Compare each result with the original before downloading. For camera-side fixes to a dim bedroom, readhow to photograph a dark bedroom without a flash.
It can sharpen edges and enlarge the output, but it cannot recover details the camera never captured. Re-shooting is usually the better option for severe focus or motion blur.
No. Twilight darkens and cools the existing photo and adds a vignette. It does not generate a new sky or exterior lighting.
No. The generative option is designed to replace an overcast sky in an exterior photo. Auto, Vivid, and Twilight are the fixed correction modes for other photo changes.
Yes. Generative edits may alter details beyond the target area. Compare the result with the original and check that the property remains accurately represented before publishing.
An active subscription is required to use the photo tool.
See subscription plansEditing Tutorials
What Does Photo Upscaling Actually Do? (And When It Can't Help)4 min read
Editing Tutorials
How to Fix a Yellow or Orange Color Cast in Indoor Listing Photos4 min read
Shooting Tips
Brighten Dark Airbnb Photos: Edit an Existing Image or Retake5 min read