Editing workflow
Listing Photo Editing Checklist: What to Fix Before Upload
Written and maintained by the voxelyo team · Published · 7 min read
Start with the original, fix only the problems it actually has, and check the exported file before publishing. A brighter picture can still have a poor crop, distracting grain or inaccurate colors. This checklist separates those decisions so you can keep a useful edit, return to the original or retake with a clear reason.
Your eight-point review sheet
| Check | Keep the edit when… | Watch for… |
|---|---|---|
| Room brightness | Furniture and room boundaries are readable | Stop before brightening turns the room flat or exposes distracting grain |
| Window and lamps | Useful highlights remain visible where present in the source | Do not invent a view or claim that clipped information was recovered |
| Color | Walls, bedding and wood resemble the property | A warm lamp can stay warm; neutralize only an unwanted cast |
| Sharpness | Important edges are clear at normal viewing size | Look for white halos and crunchy textures at 100% |
| Geometry | Doors and room boundaries remain believable | Avoid stretching the room to make it look larger |
| Crop | Essential furniture, access and amenities remain in frame | Check both a thumbnail and the full image |
| File | Export format and decoded dimensions meet the chosen checks | Use the original export, not a screenshot or messaging-app copy |
| Accuracy | The photo shows the room and facilities currently offered | Compare against the property, not just against another edited photo |
1. Preserve an original you can return to
Keep the camera file separate from every candidate. Name exports by room and version, such as bedroom-original.jpg and bedroom-edit-01.jpg. Avoid repeatedly saving over a JPEG while experimenting. If someone else edits the set, ask them to deliver originals and finished files in separate folders, with the room names intact.
Choose one target for the image before editing: make the bed readable, reduce an unwanted color cast, or improve a slightly soft edge. If you cannot name the problem, compare the original at the intended display size first. A preset is an option, not a requirement for every frame.
2. Adjust exposure without losing the room’s character
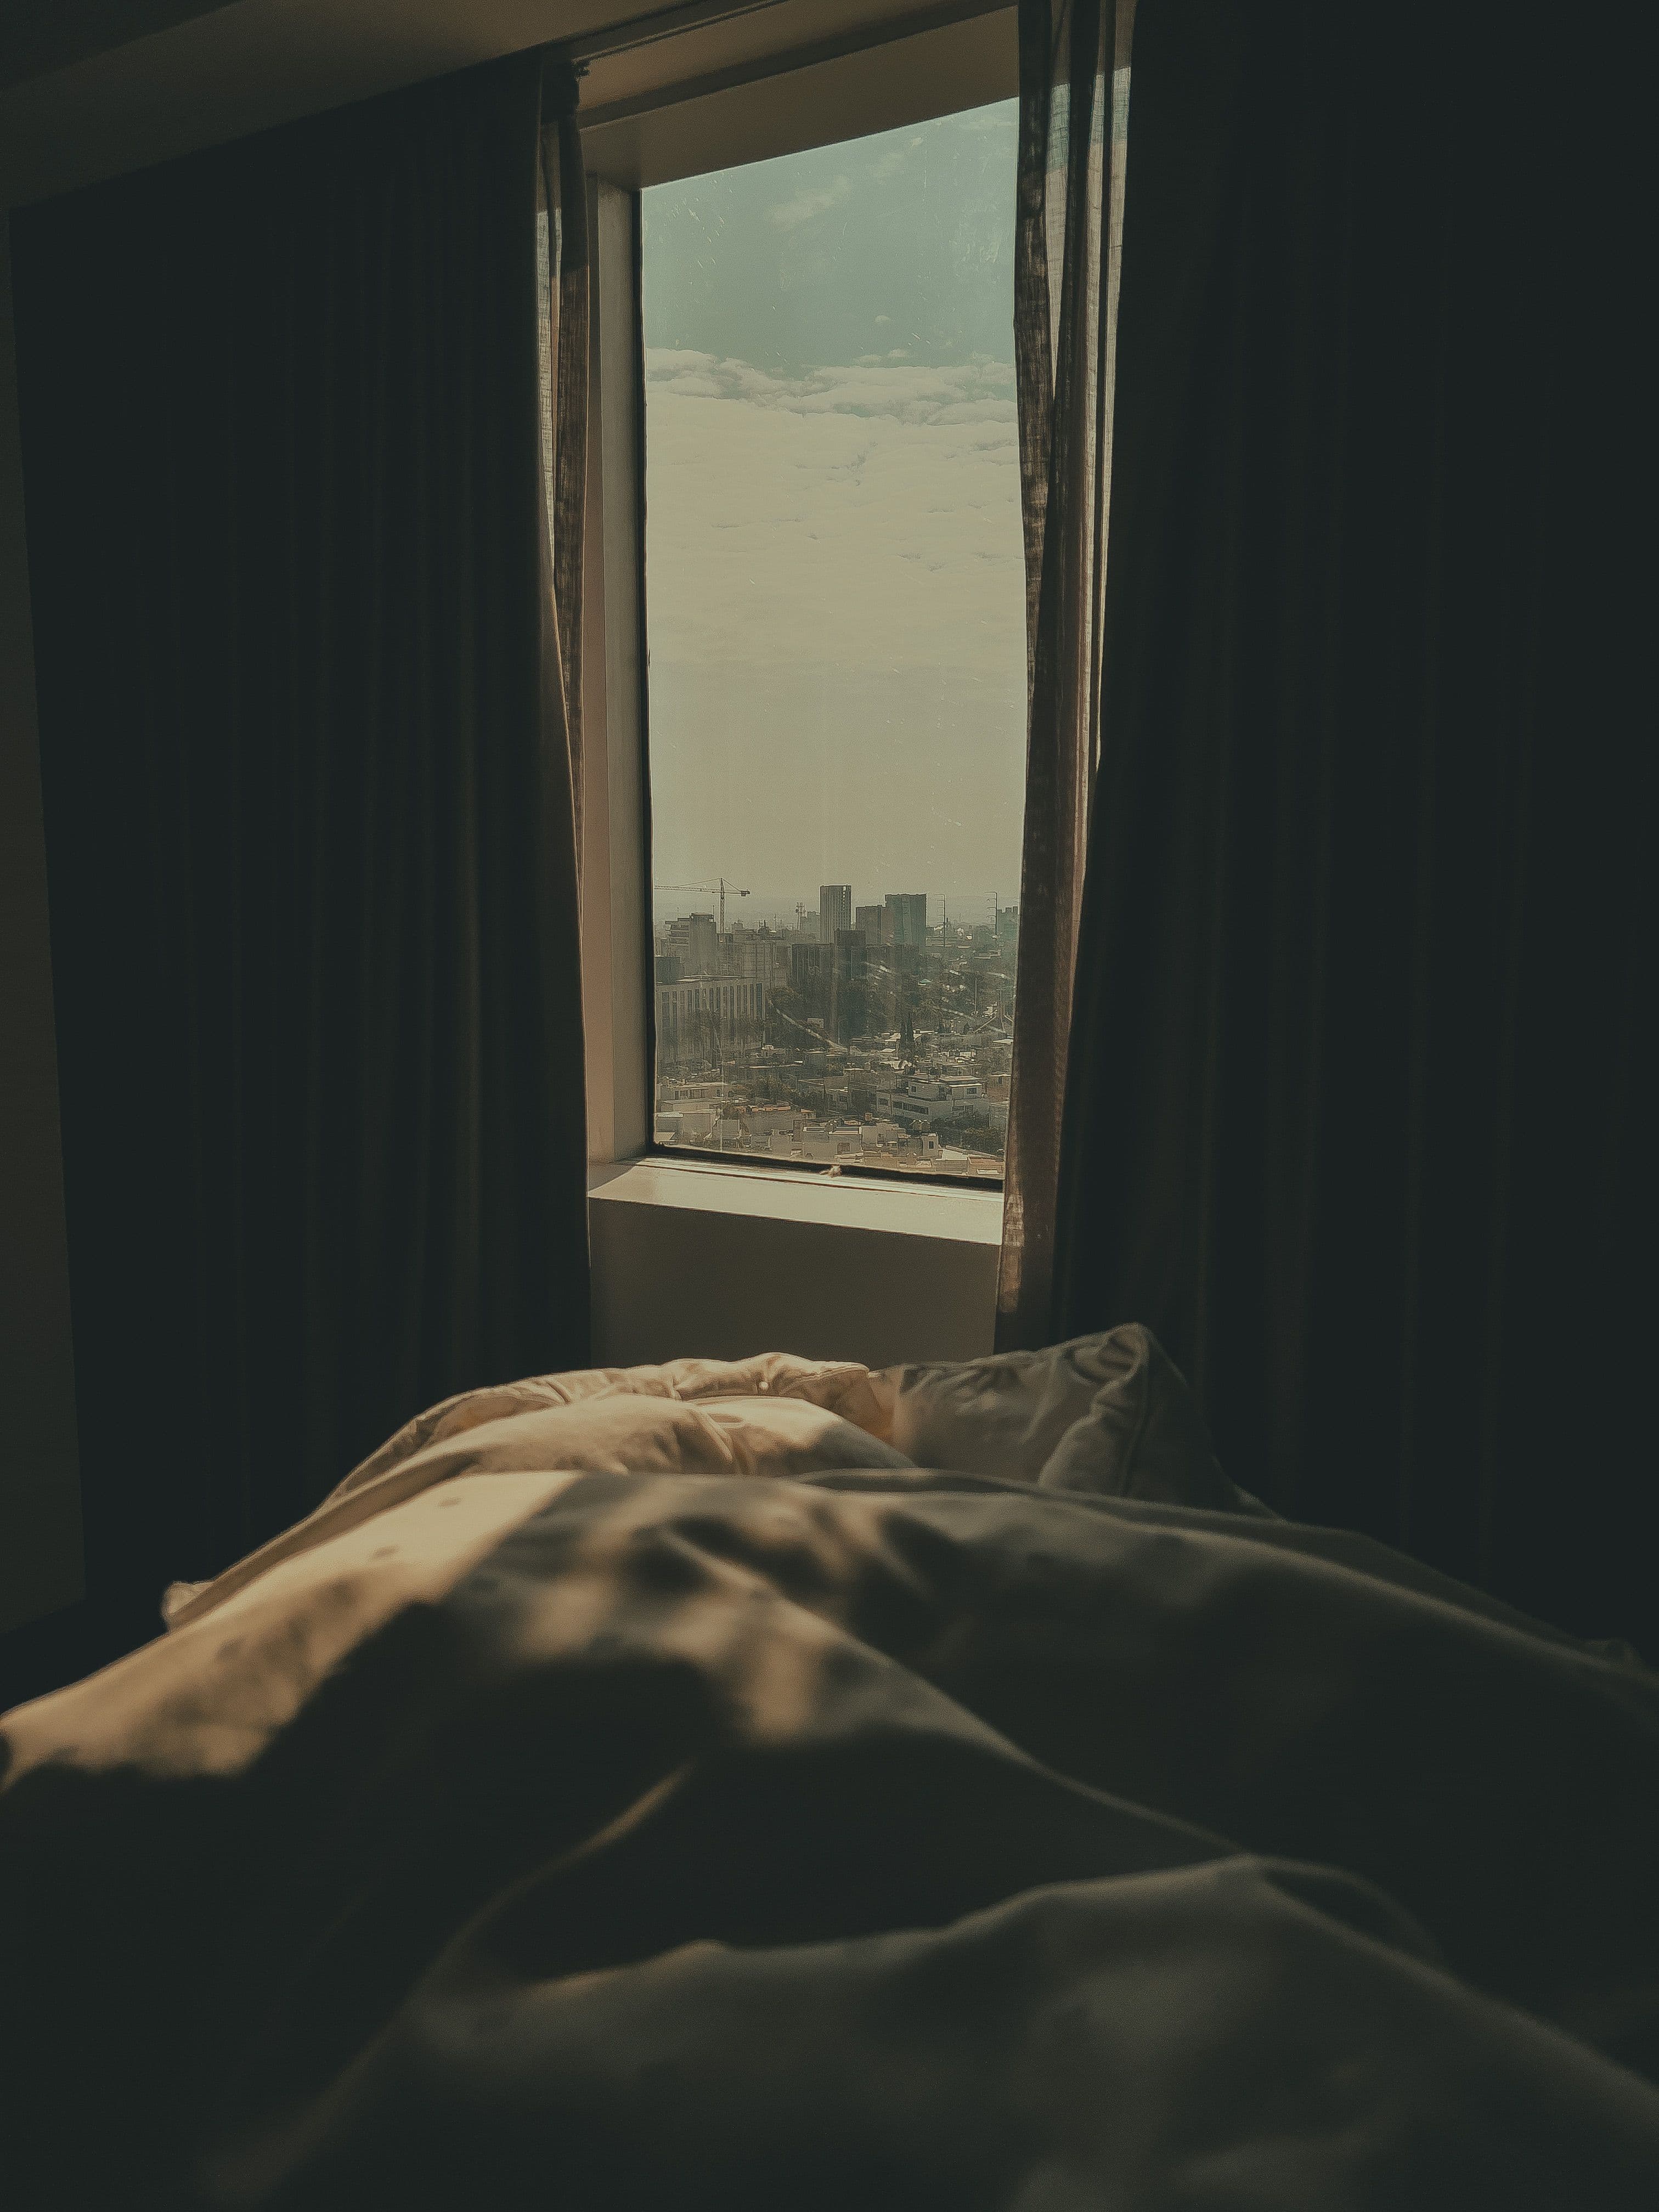
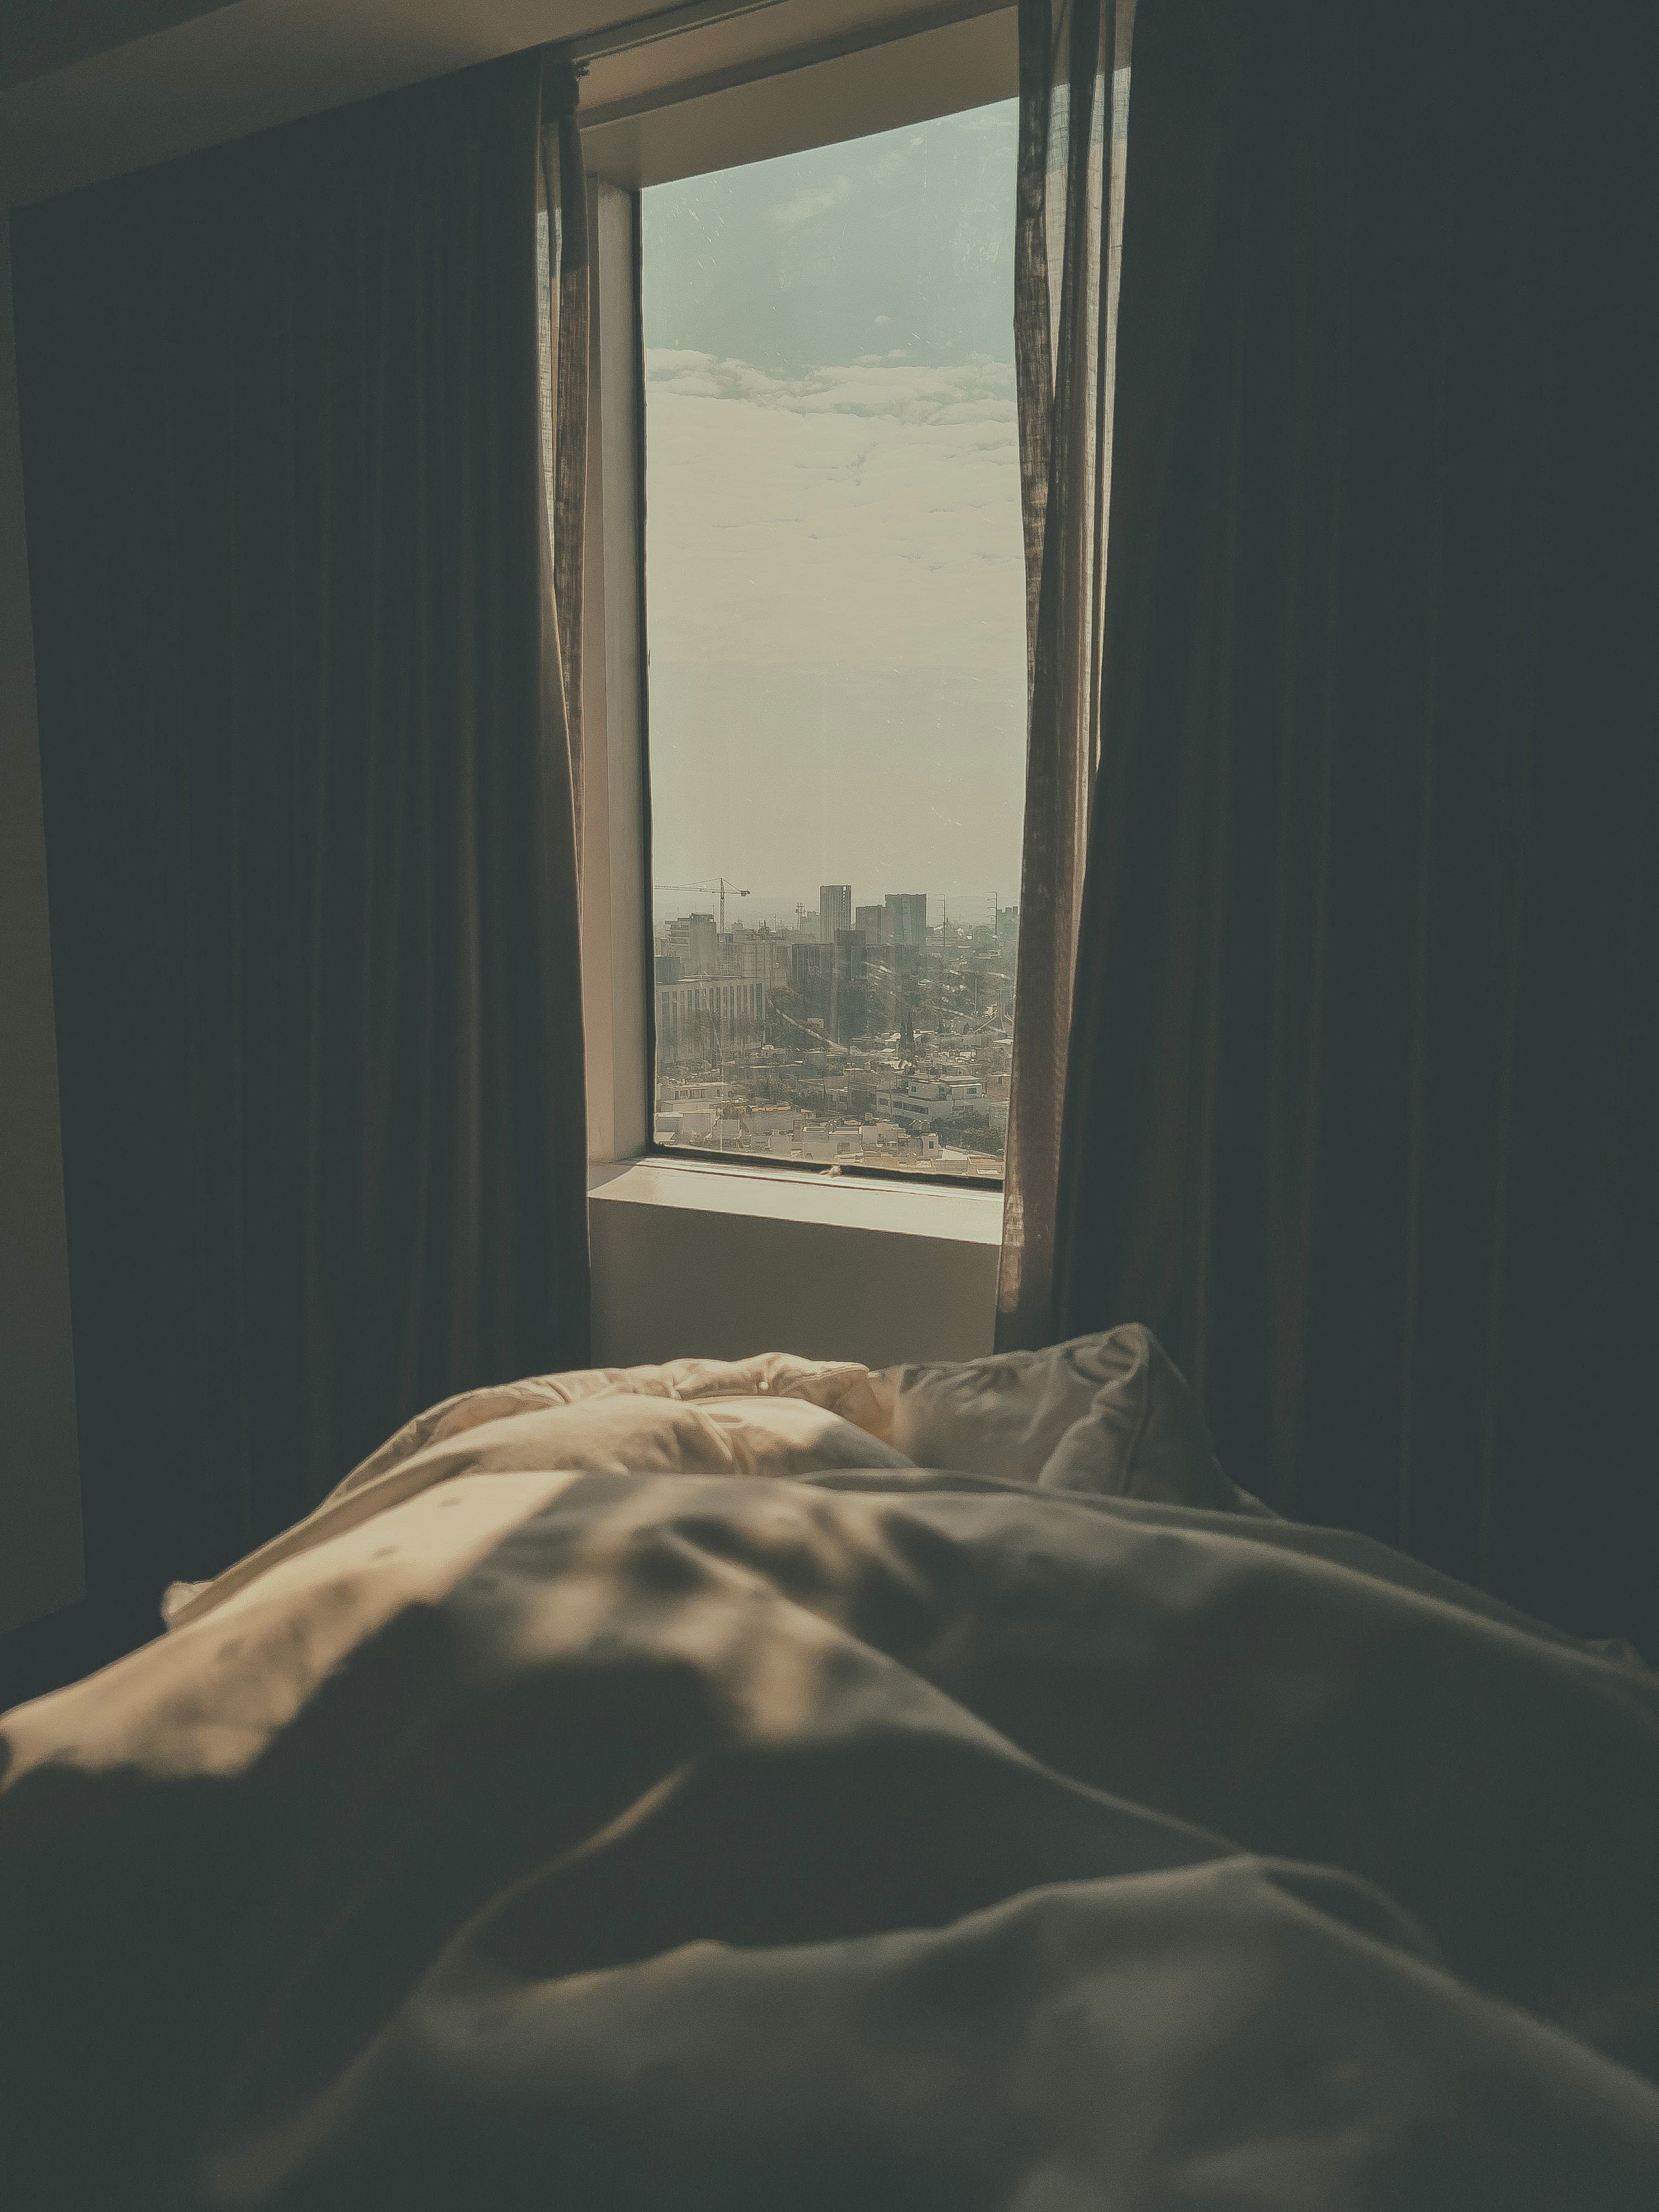
Look at the surfaces guests use: the bed, seating, countertop and floor. Increase brightness until those areas are understandable, then recheck the window, lamps and pale bedding. A sunny living room should not need the same lift as a dim bedroom. Airbnb’s photography guidance suggests adjusting brightness, contrast and highlights; it does not prescribe one identical setting for every room. Read Airbnb’s photography guidance.
If your editor offers a histogram or clipping warnings, use them alongside your eyes. Adobe explains how the histogram and clipping indicators relate to highlights and shadows. The graph is a useful warning, not a score for an attractive room: a dark curtain can legitimately be dark. See Adobe’s tone and clipping reference.
Original
Auto candidate
3. Separate warm lighting from an unwanted color cast
A bedside lamp may really be orange, while daylight at the window is cooler. Making both areas equally neutral can erase the room’s intended lighting. Compare a known surface with the property: a white sheet, painted wall or wood floor. If changing the whole picture fixes one surface but makes the others look wrong, consider a local adjustment or a retake with simpler lighting.
Do not assume a mode called Auto performs dedicated white-balance repair. Voxelyo Auto currently adjusts dark-image exposure and applies mild sharpening; Vivid applies a stronger color grade. For a mixed-light problem, follow the color-cast workflow and decide whether separate editing is appropriate.
4. Check texture at 100%, then return to normal size
Inspect the window frame, bed edge, wood grain and curtain texture. Sharpening can create a pale line around a dark edge; brightening can make existing grain easier to see. Compare the same region of the original and candidate rather than judging two different crops. Then zoom out: an aggressive edit that looks punchy in a tiny thumbnail may be uncomfortable in the full gallery.
For AI enlargement, check repeated fabrics and small fittings especially carefully. A larger file can contain inferred texture. Pixel dimensions can be verified by a checker, but they cannot establish that a new thread, tile edge or distant view is factual. For severely blurred boundaries, use the edit-or-retake decision guide.
5. Review the crop and export as separate decisions
View the image as a thumbnail and as a full frame. Keep the feature that explains the room visible: the entire sleeping area, the route to a balcony, or the kitchen’s usable worktop. A crop can remove a doorway or make the layout difficult to understand even when the picture is sharp.
Export a fresh JPEG from the chosen version, then run the listing photo size checker against the intended platform. Its result describes only the listed checks. A downloaded crop candidate may cut edges or resize pixels; inspect it again before treating it as final. Never use a screenshot as your delivery file when the original export is available.
6. Compare the image with the property and the uploaded gallery
Ask a person who knows the property to compare the selected edit with the room today. Are the furniture, facilities, view and access accurate? Are you showing a decorative item that has been removed? Airbnb’s hosting guidance asks hosts to keep listing information accurate and current. A review against the property catches issues that a comparison with the original alone cannot. Read Airbnb’s guidance on keeping a listing current.
After uploading, inspect the actual preview on a phone and a larger screen. Check the cover crop, room assignment and picture order. If the platform preview looks soft, first verify that you uploaded the correct export before sharpening again. Finish with a short record: file name, edit used, dimensions checked and any limitation you decided to keep.
Common questions
Should every photo get the same editing settings?
No. A bright kitchen and a dark bedroom need different decisions. Compare the set for consistent presentation, but review exposure and color on each original rather than applying one strong preset everywhere.
Does passing a photo size check mean a picture is ready to publish?
No. A size checker only checks its listed file rules. Review sharpness, crop, color, room accuracy and the uploaded preview separately. It cannot confirm that a platform will accept the photo or that the image accurately represents the property.
When should I retake instead of editing?
Retake when important boundaries are blurred, movement produces doubled edges, a window has no usable detail in the source, or the camera angle hides something guests need to understand. Increasing brightness or pixel dimensions does not restore missing facts.
Sources reviewed October 2, 2026. Workflow and file-naming suggestions are Voxelyo editorial recommendations; platform rules and editor functions are linked separately.